Guide 6 of 8
Administer your restaurant from the Pro web portal
The web portal complements the mobile application with an interface adapted to activity monitoring and management tasks.
The screenshots show the French interface; the layout and features are the same in every language.
Documentation navigation
Chapter 1
Log in and read the dashboard
The Pro web portal uses the account created in the KoulChi Pro application; no new registration is necessary.
Step 1
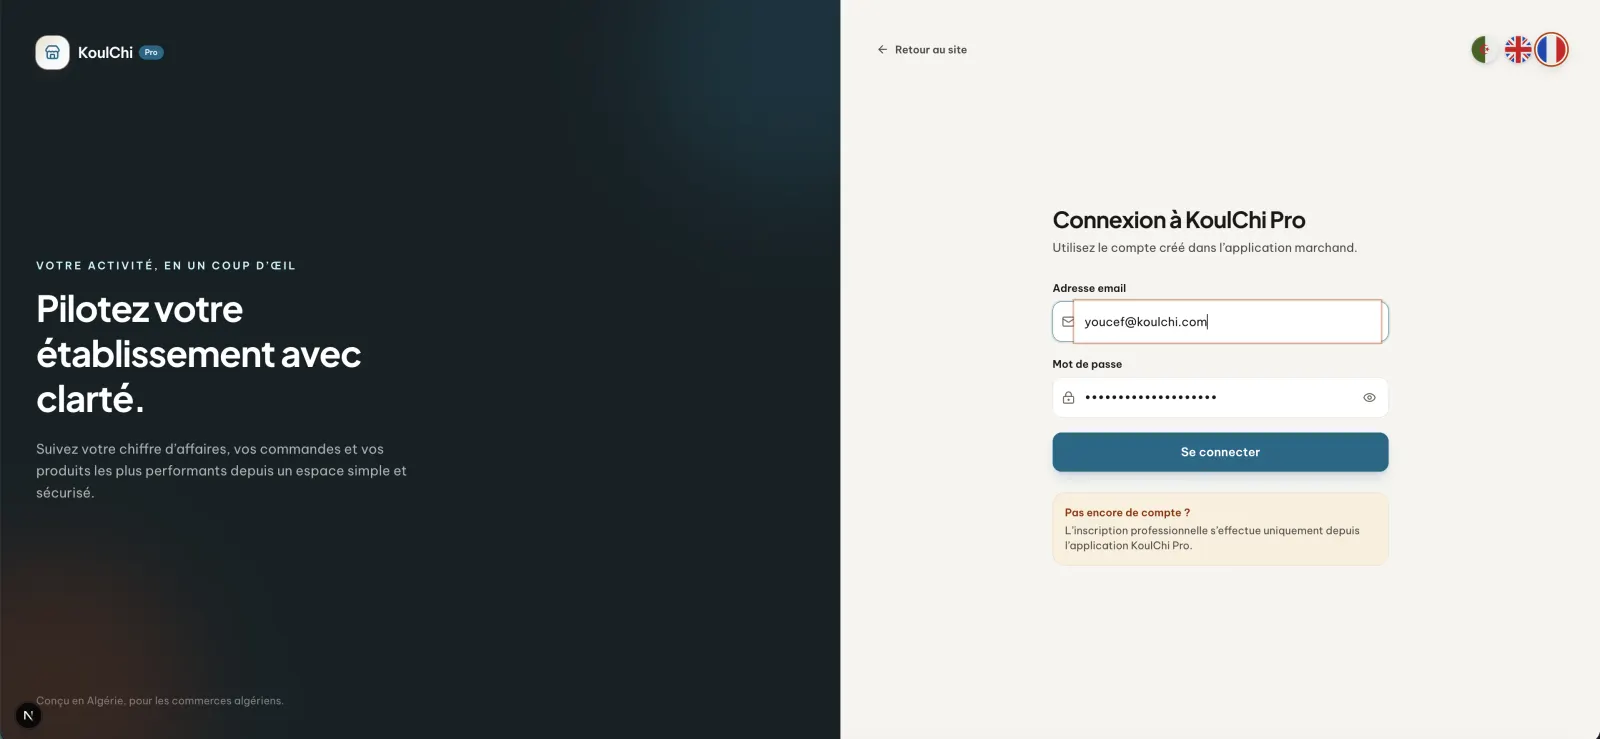
Log in to the Pro area
Open koulchi.app/fr/pro/login and use the same login details as in the KoulChi Pro application.
In practice. The account is first created in the mobile application. Then, the same identifiers give access to the web portal: the manager finds his restaurant without creating a second account.
Open full-size image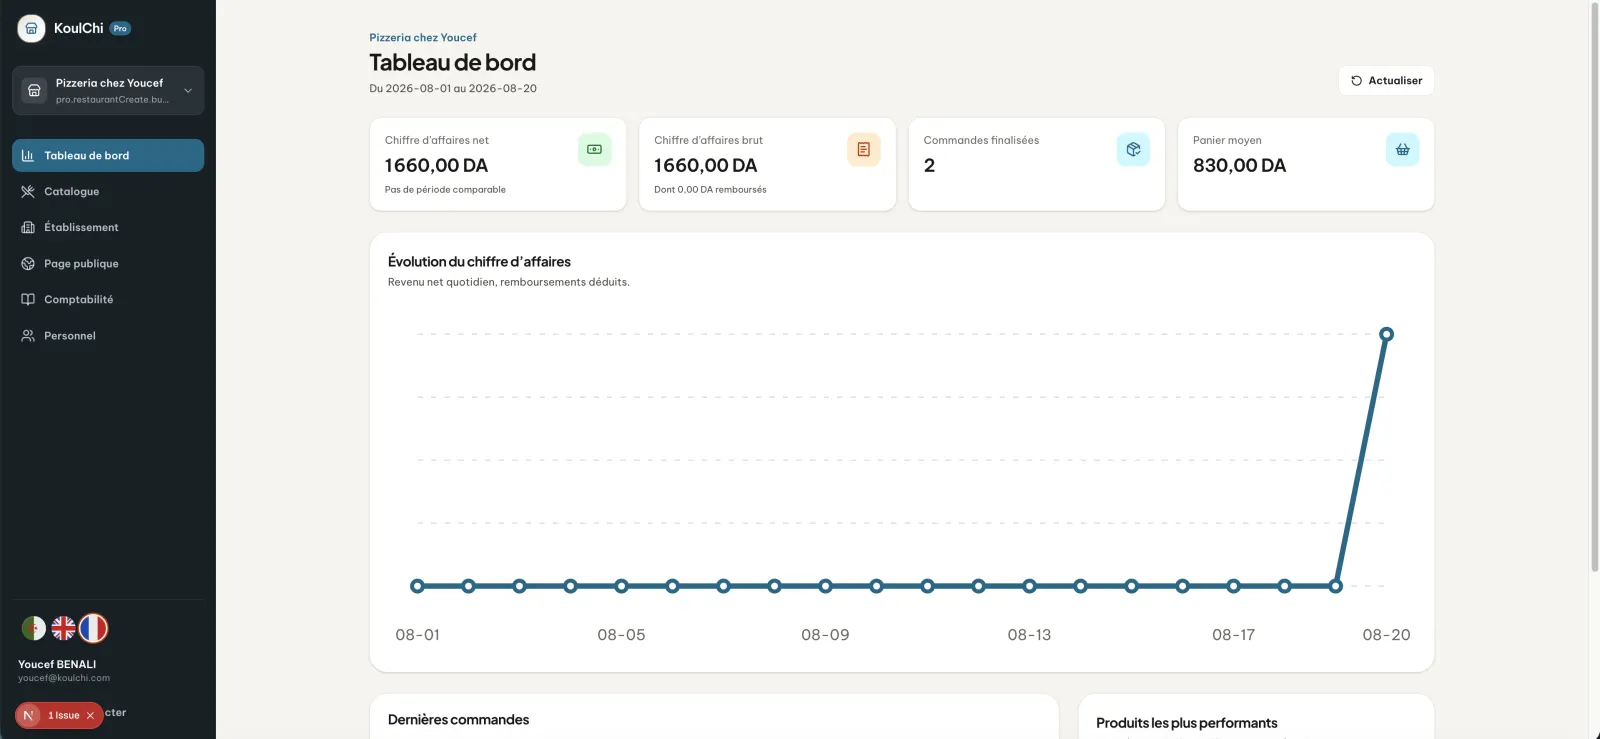
Step 2
Discover the web dashboard
Consult the evolution of turnover, recent orders and the best performing products from the home page.
Open full-size image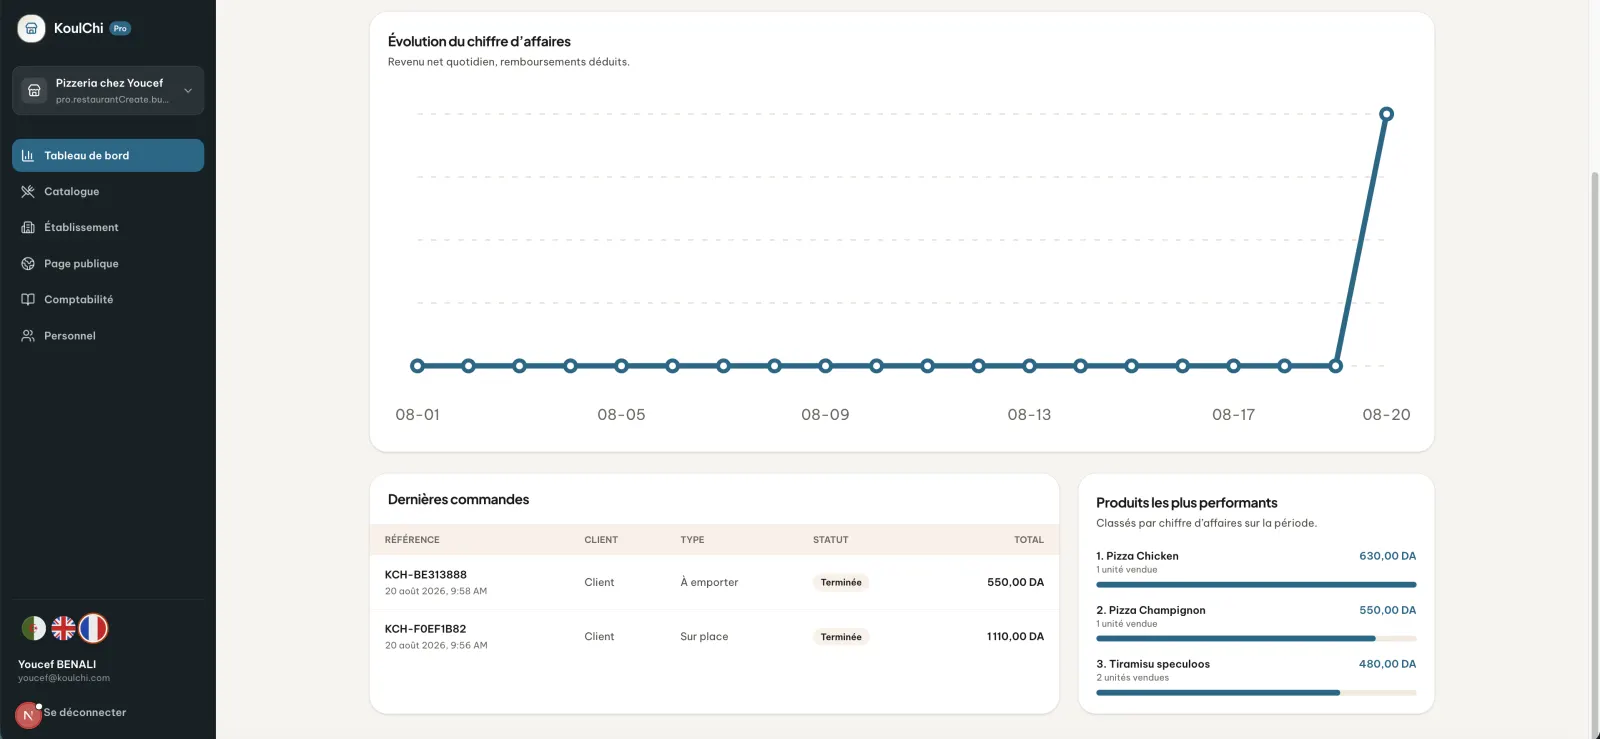
Step 3
analyse ordered products
The indicators make it possible to identify the most requested products and monitor activity over the displayed period.
In practice. Identifying the most requested products helps decide which ones to highlight, what raw materials to include and which products deserve to be reworked.
Open full-size image
Chapter 2
Manage current information
The main mobile management functions are also accessible from the side menu of the site.
Step 4
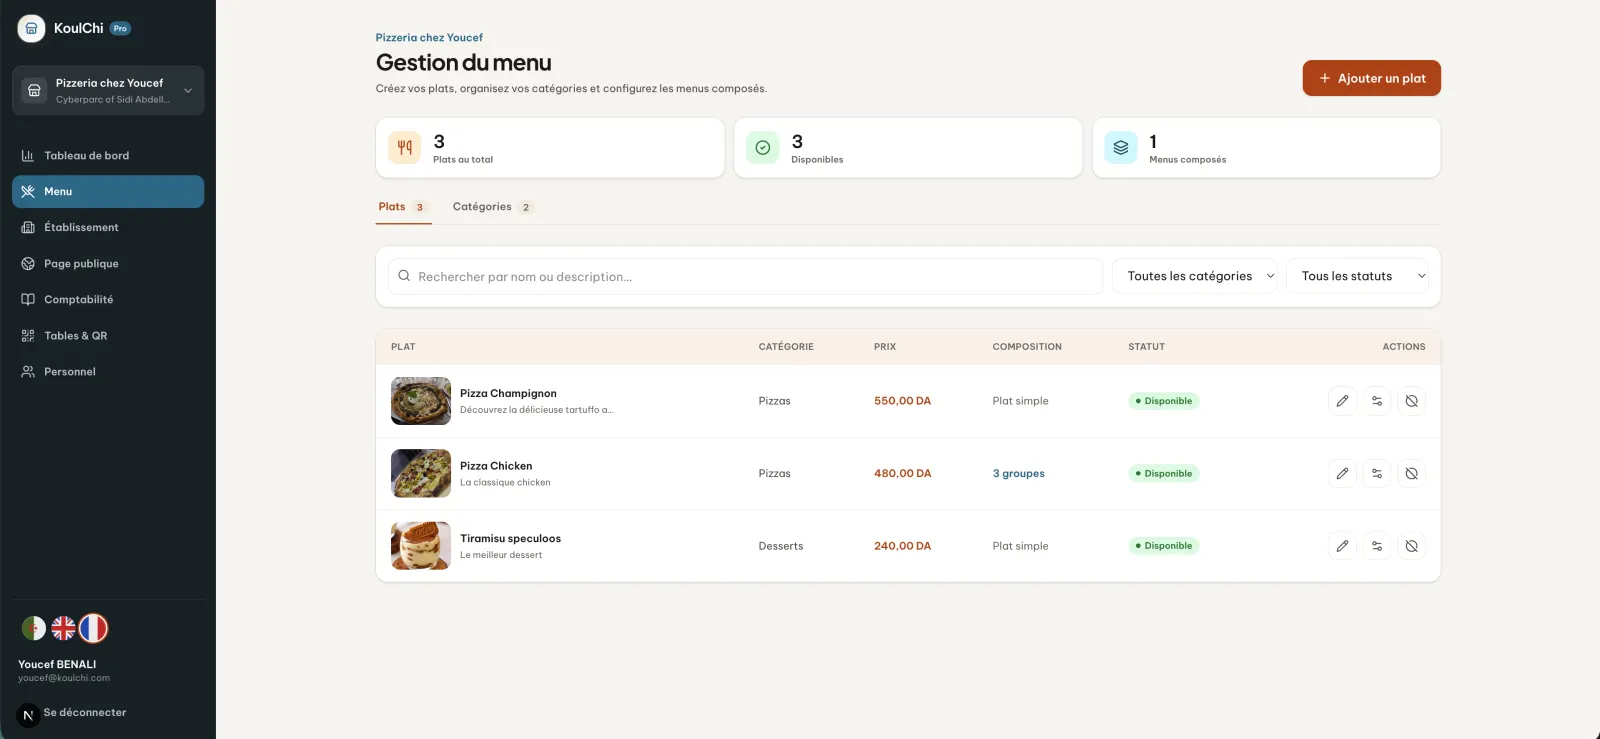
Administer the menu
Create and modify products, categories and compositions from the web interface.
Open full-size image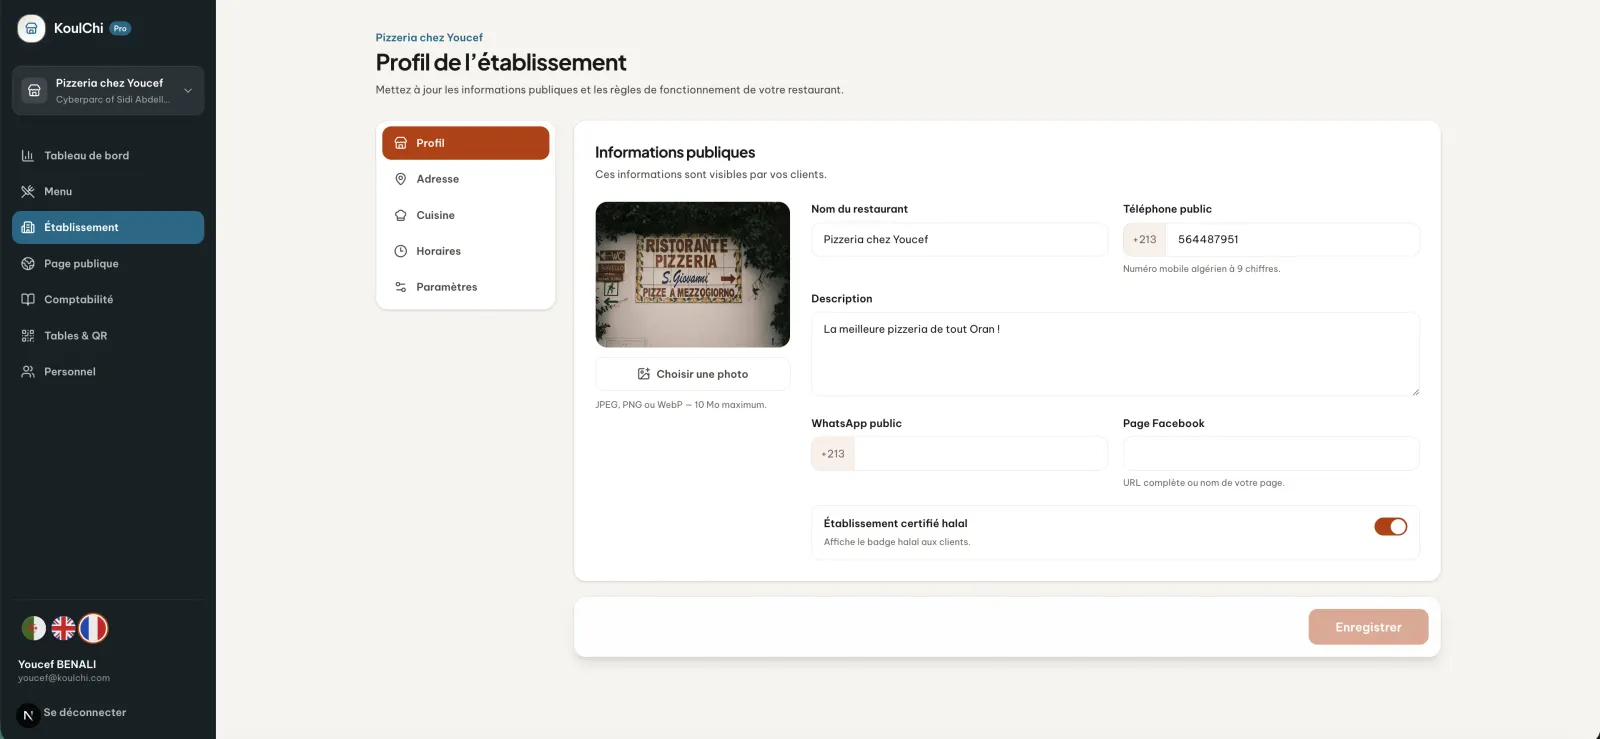
Step 5
Update profile
Access general information, address, contacts, hours and restaurant settings.
In practice. Changes to address, phone, WhatsApp, Facebook or times update the information used in the KoulChi ecosystem.
Open full-size image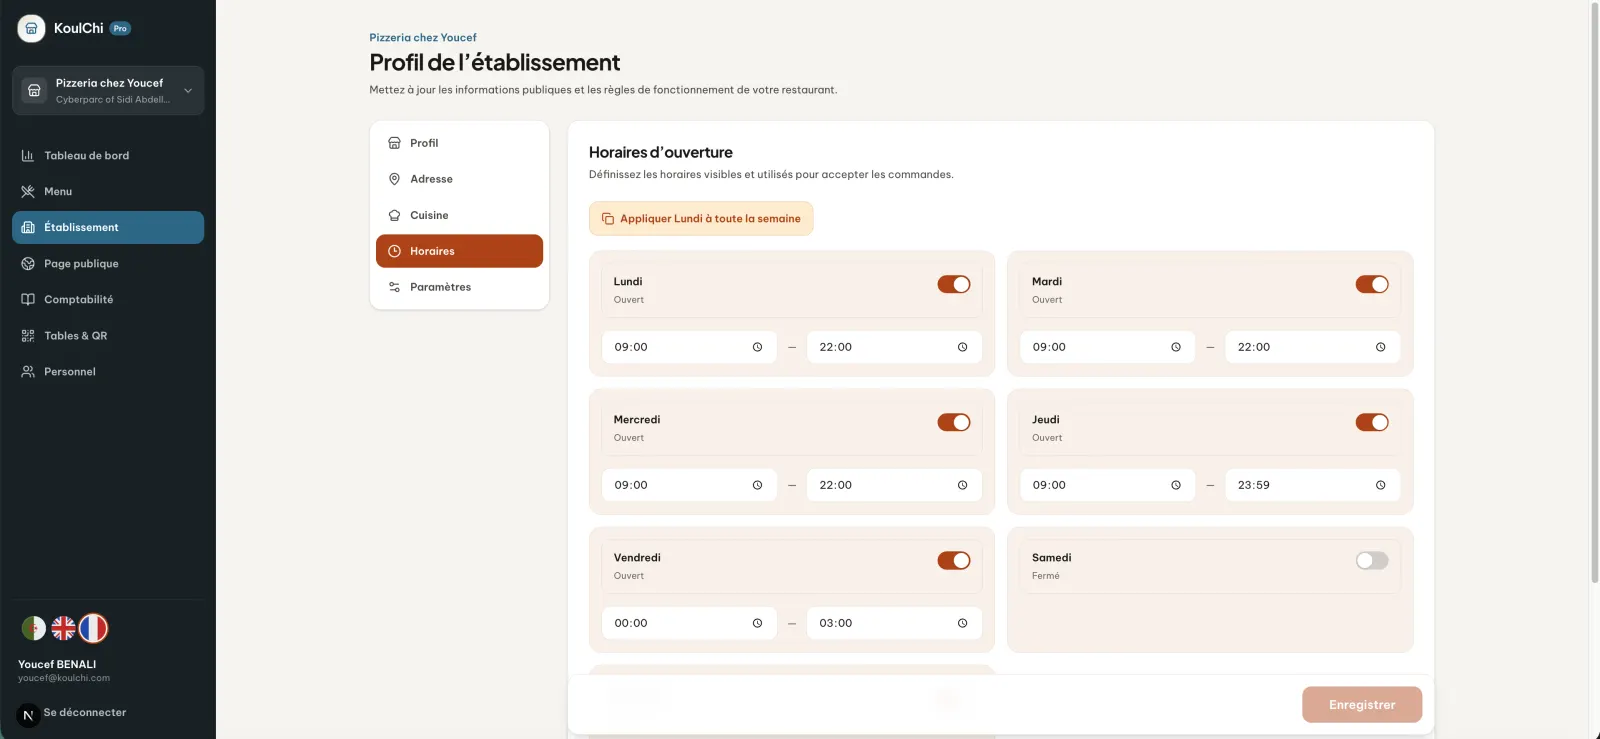
Step 6
Change opening hours on the web
Configure the opening days and times from the section dedicated to the restaurant.
Open full-size image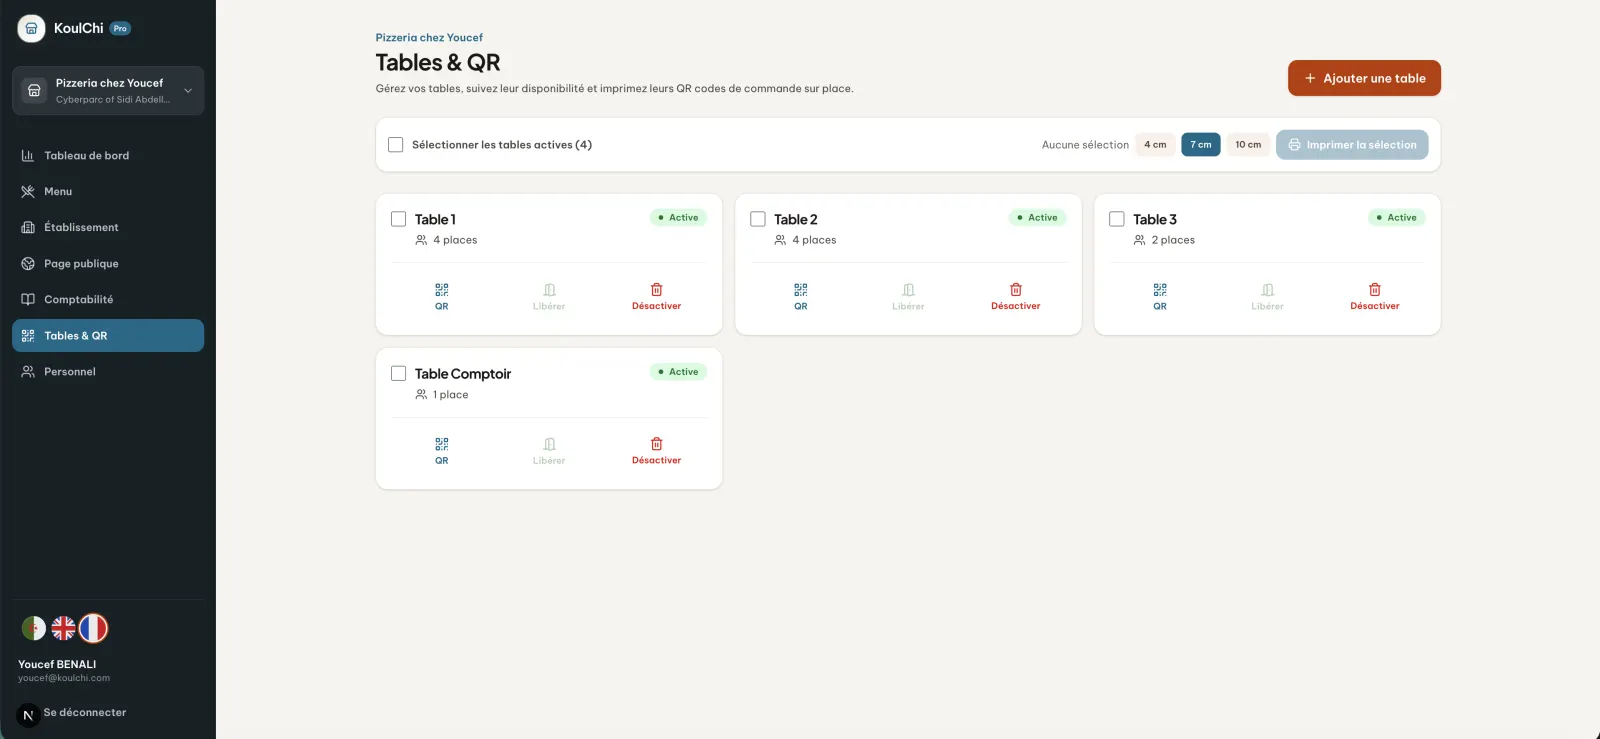
Step 7
Manage tables on the web
Create or update tables and their information from the Pro area.
Open full-size image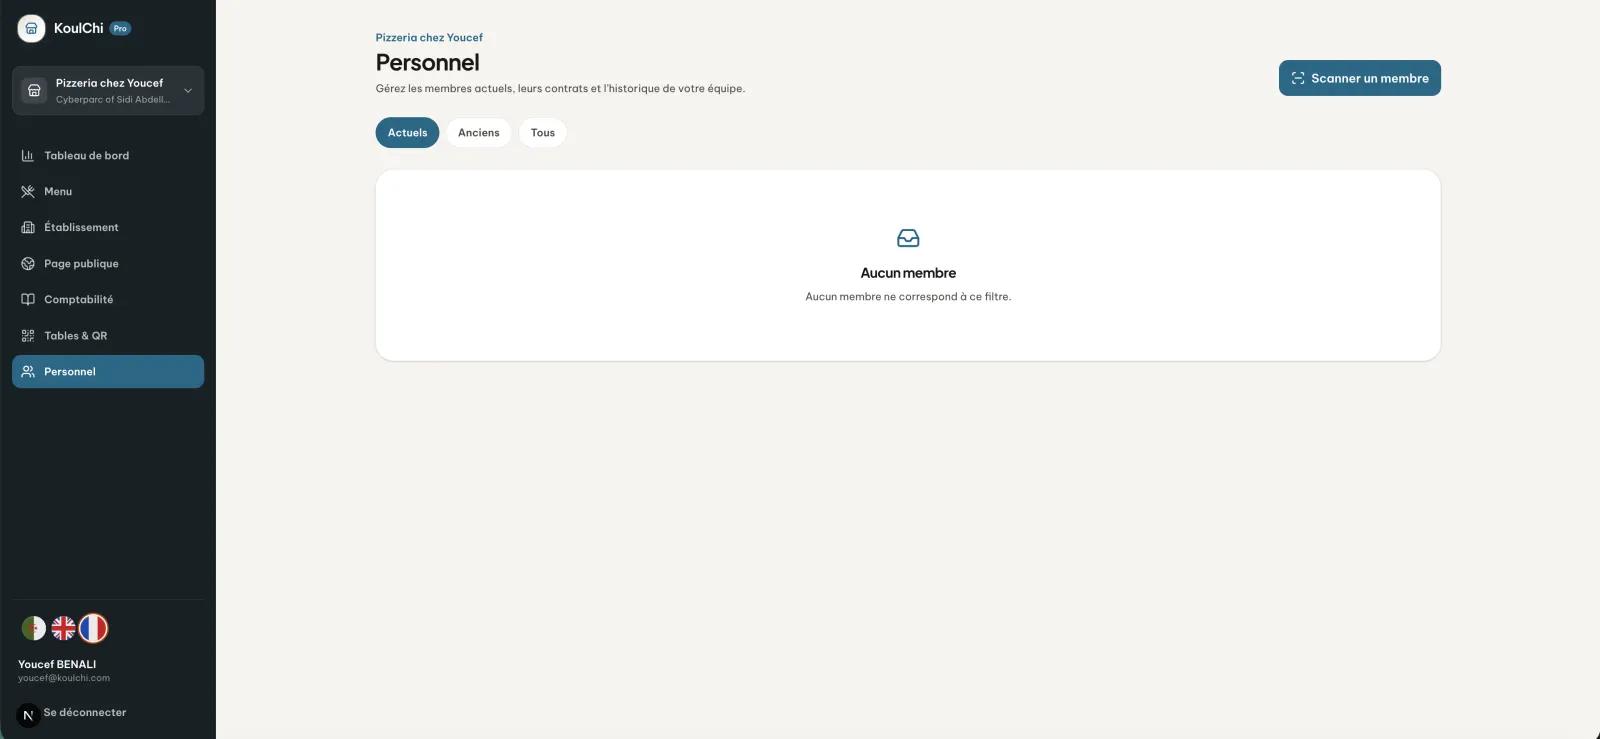
Step 8
Manage staff on the web
Consult the members attached to the restaurant and administer their access periods.
Open full-size image
Chapter 3
View and export accounting
The accounting page brings together the results over a chosen period in order to facilitate monitoring and archiving.
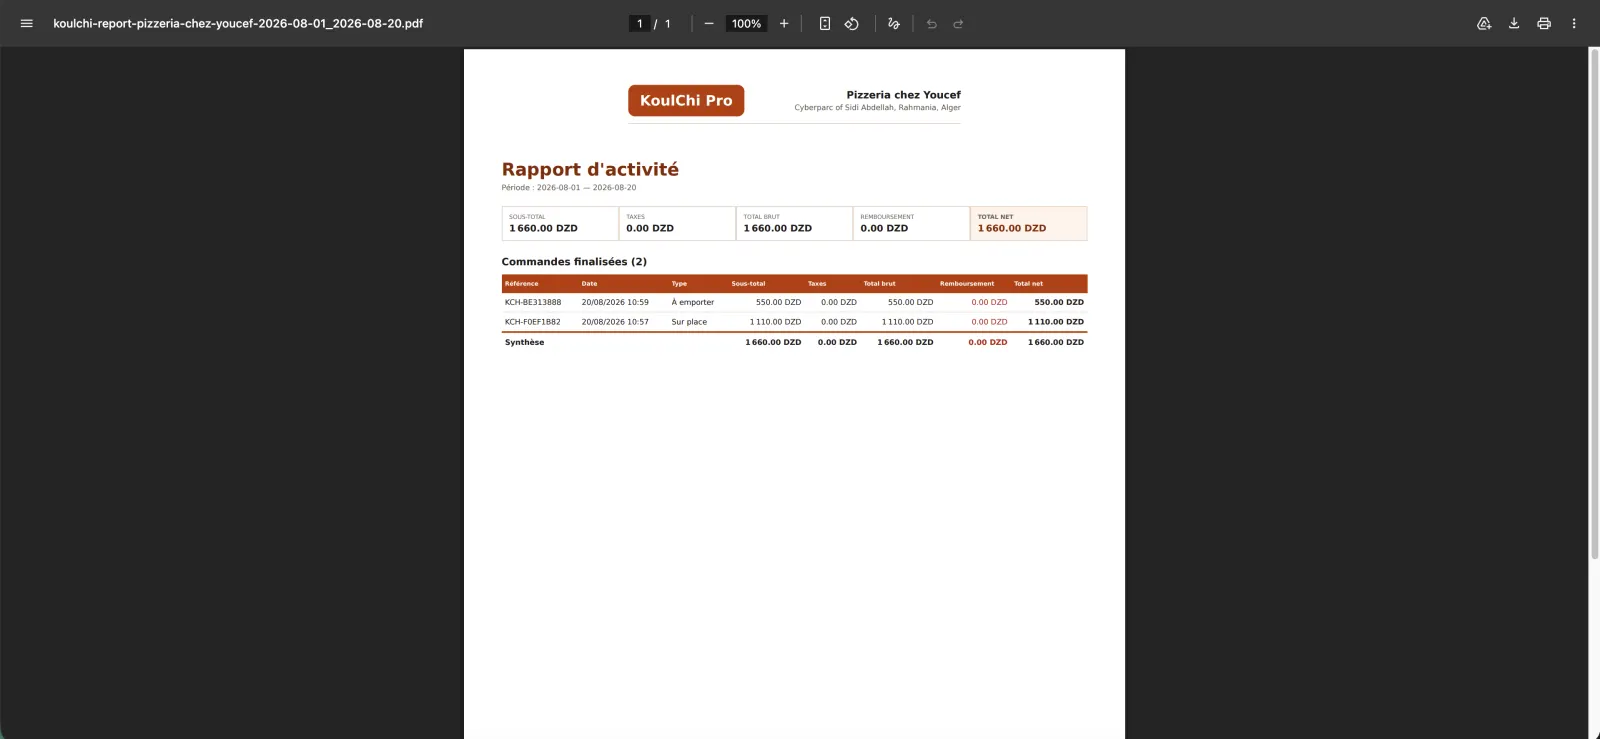
Step 9
Choose an accounting period
Select a date range to display the corresponding commands and results, then use the available export actions.
In practice. Comparing a week, a month or a peak period can help anticipate stocks, staffing needs and peaks in activity. PDF export provides a presentable document with the identity of the restaurant; the spreadsheet allows for more detailed analysis or sharing with the accountant.
Open full-size image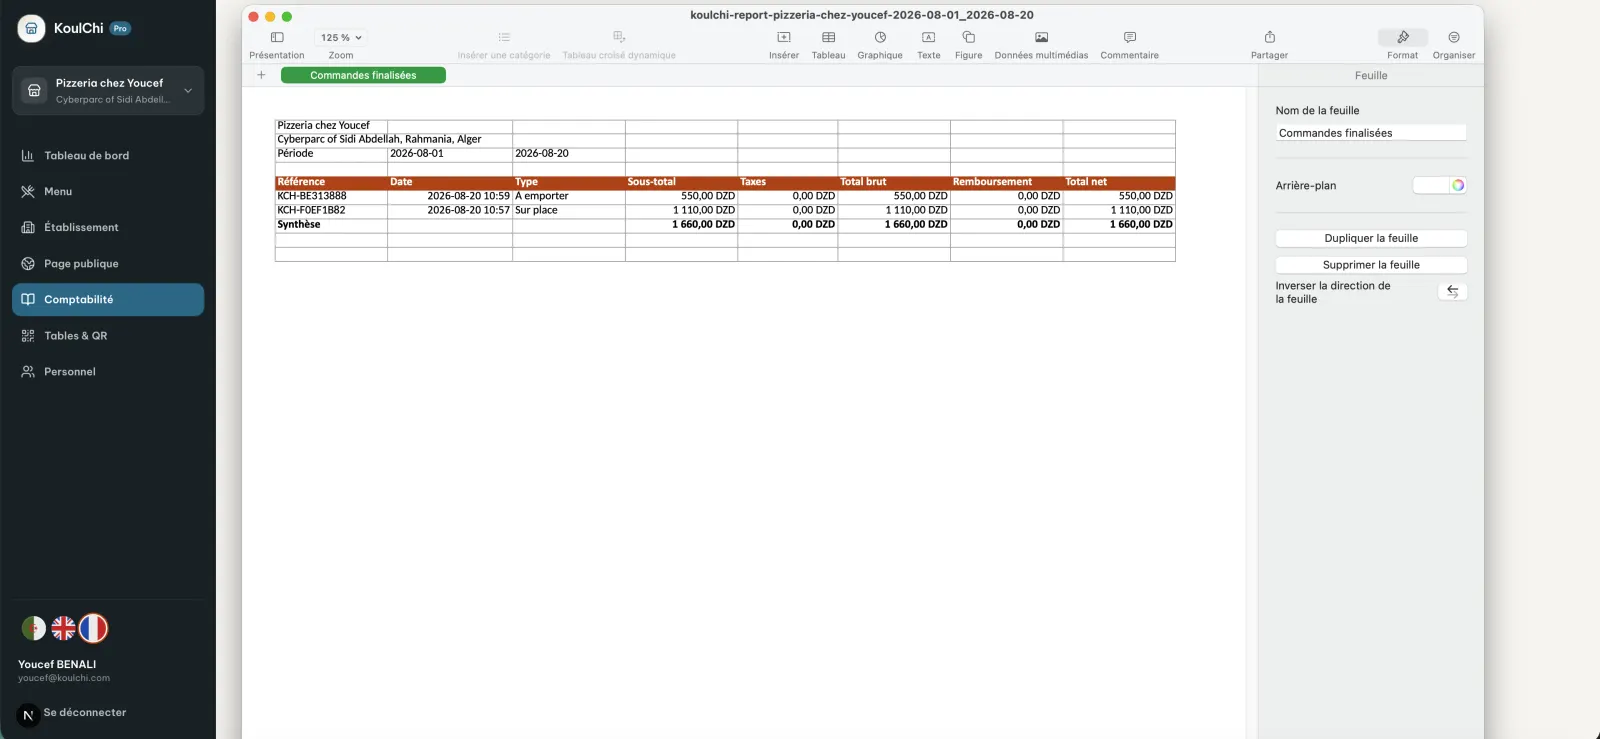
Step 10
Export data to spreadsheet
Download the data in spreadsheet format to analyse, classify or transmit it to your accounting contact.
Open full-size image