Guide 2 of 8
Configure your restaurant and manage your team
Complete the restaurant's public profile, define its operating rules and add team members.
The screenshots show the French interface; the layout and features are the same in every language.
Documentation navigation
Chapter 1
Complete the restaurant profile
The profile centralises public and operational information. It also allows you to move from one establishment to another when the account manages several.
Step 1
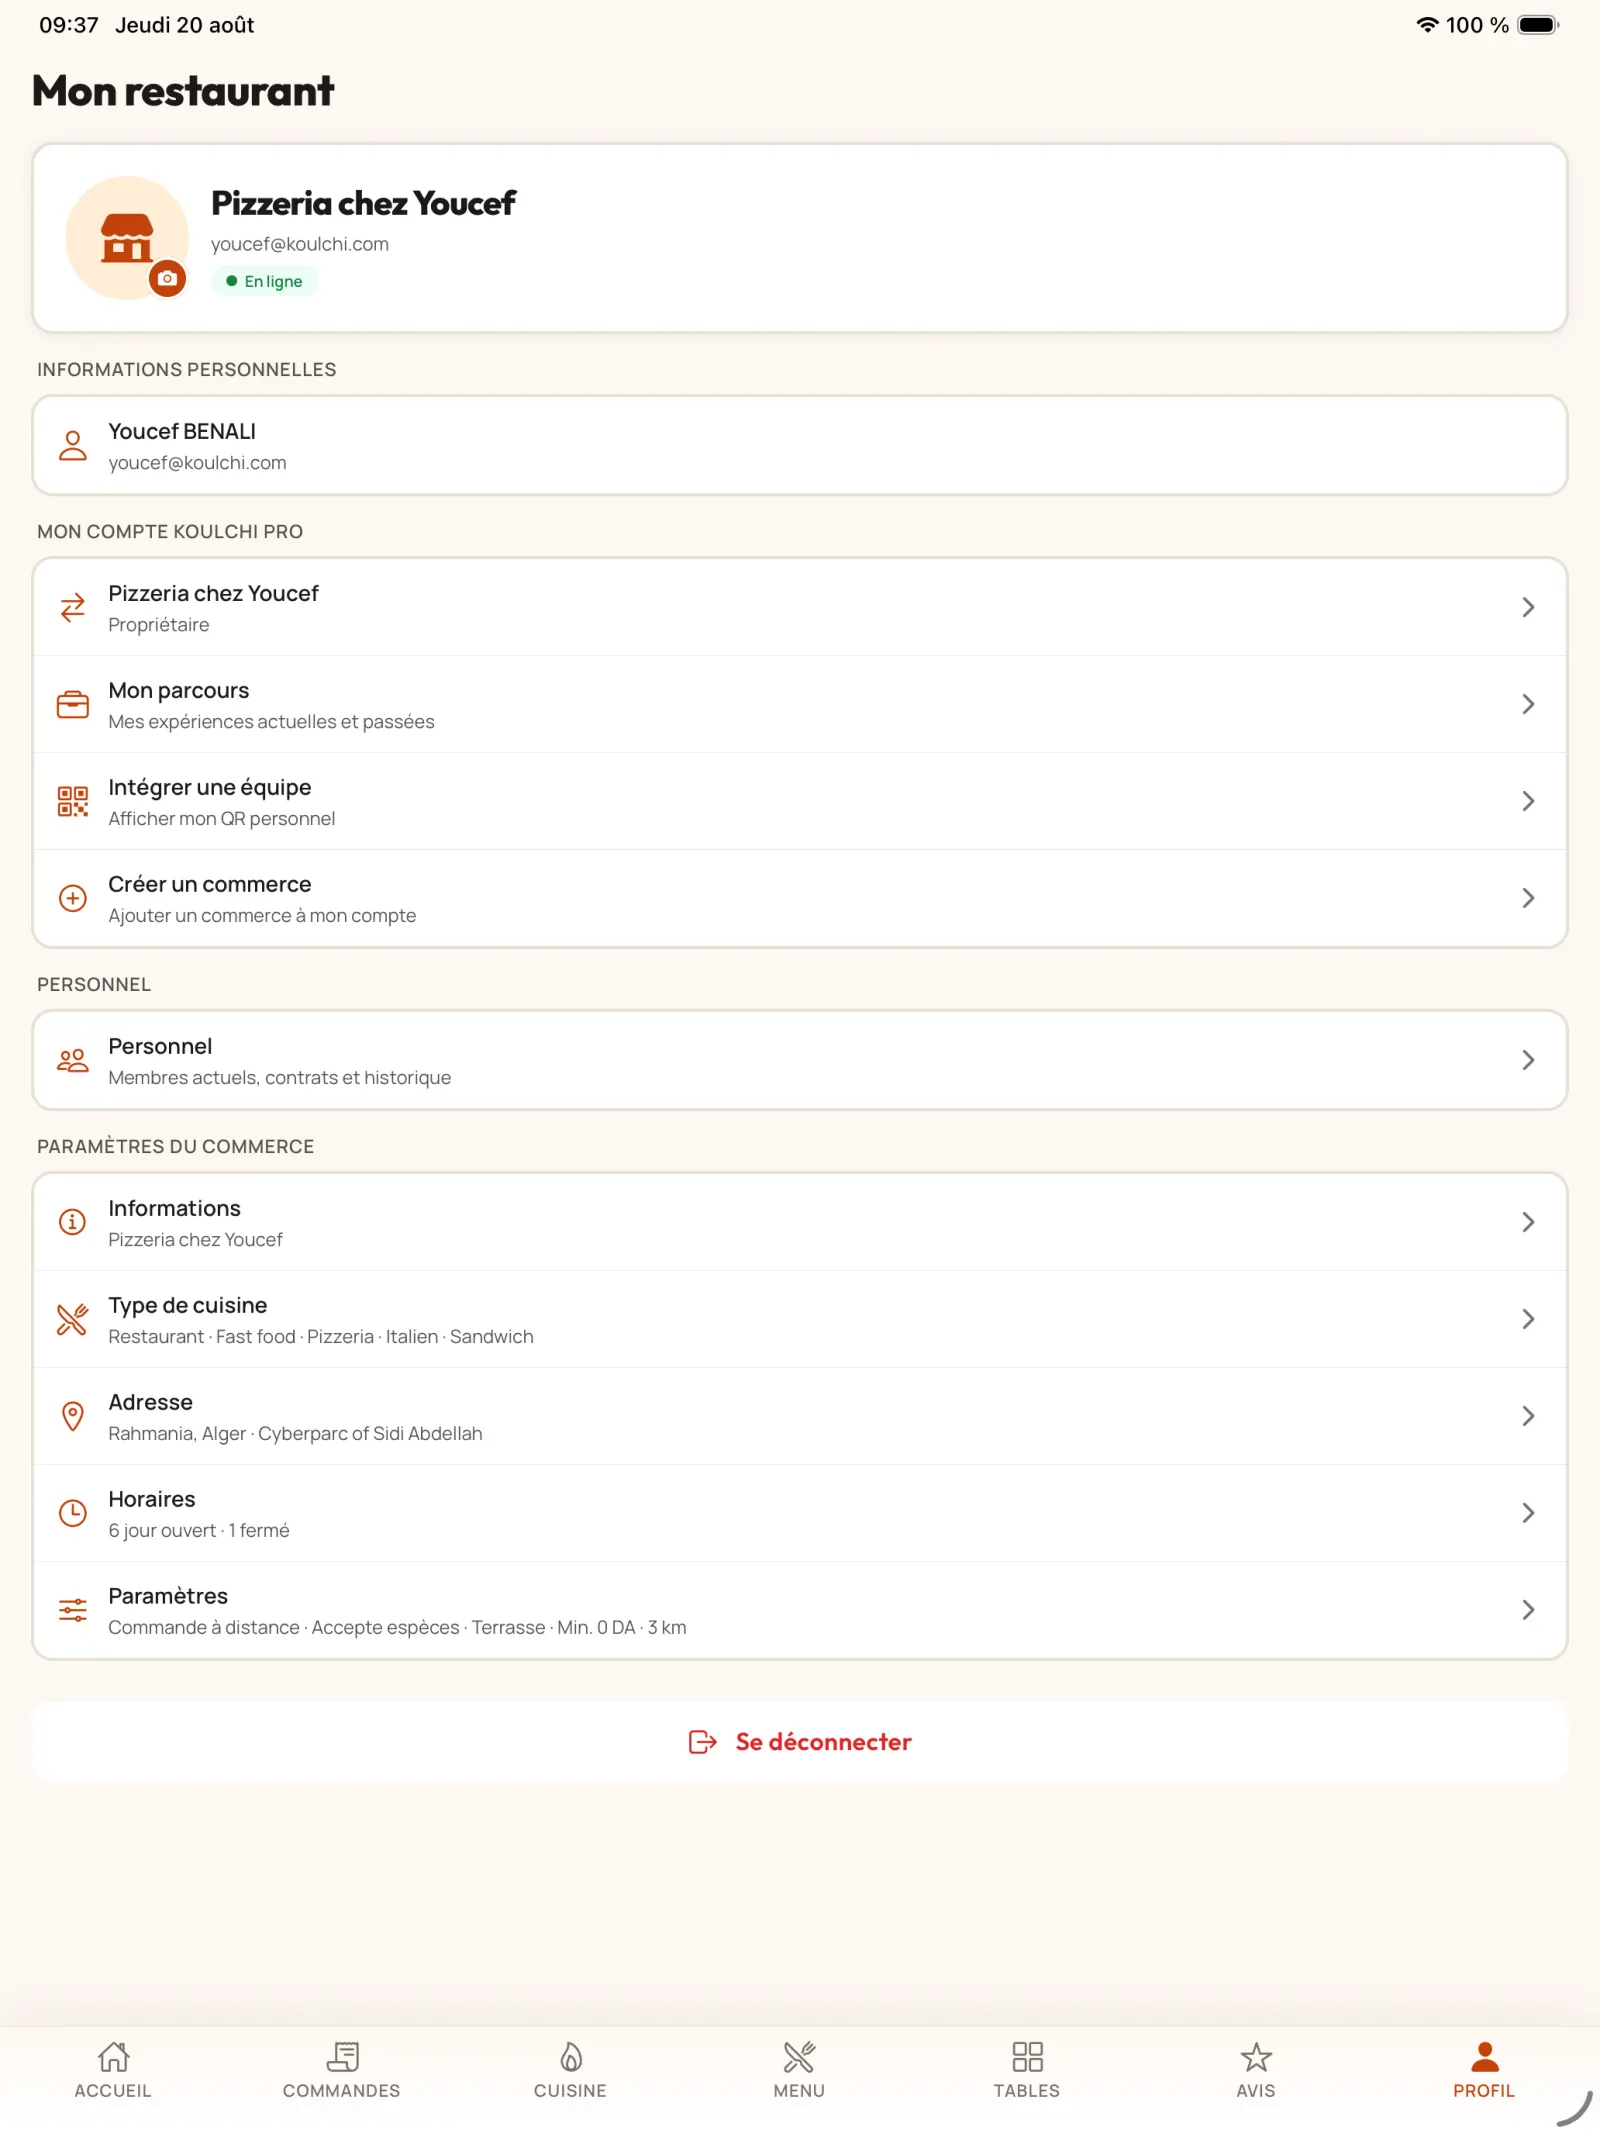
Access profile settings
From the “Profile” tab, modify information, address, hours, settings and staff. Also use this space to create or select another restaurant.
In practice. The same manager can create several restaurants. Each establishment then has its own profile, opening hours, menu, tables, team and orders.
Open full-size image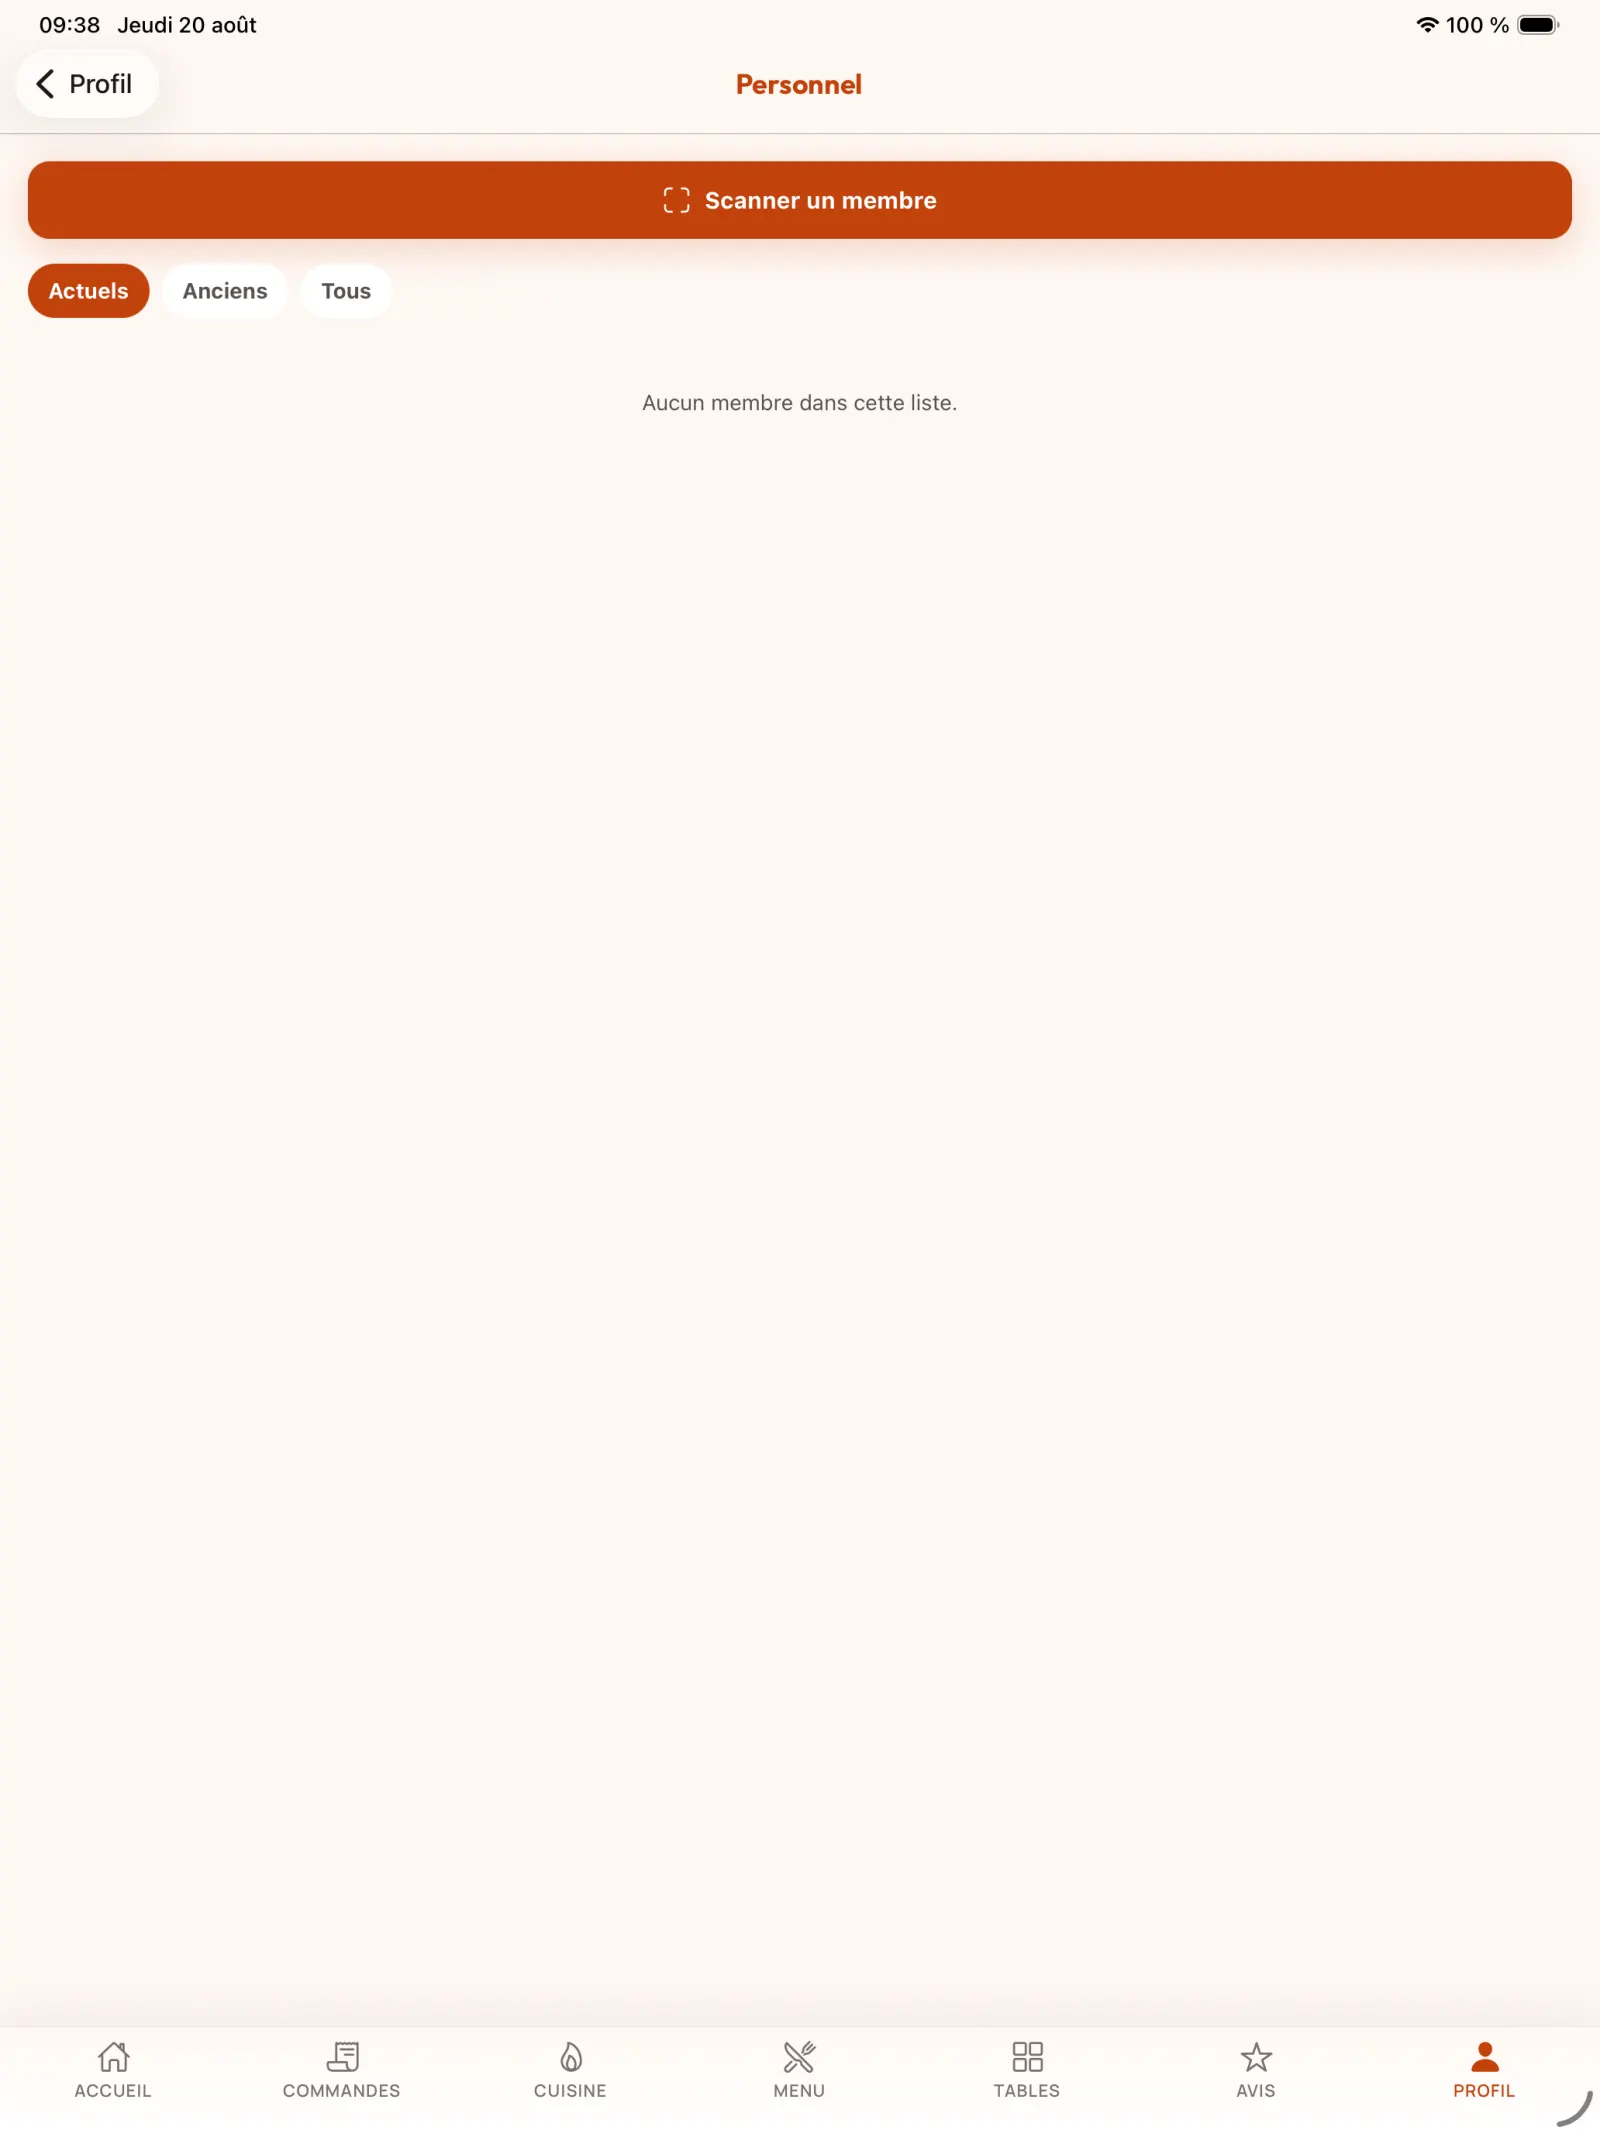
Step 2
View assigned staff
The “Staff” section presents the members of the team and allows you to add one by scanning their QR code KoulChi Pro.
In practice. The member installs KoulChi Pro on their phone or tablet and presents their QR code. After the scan, the manager can define a start date, an end date or access without deadline.
Open full-size image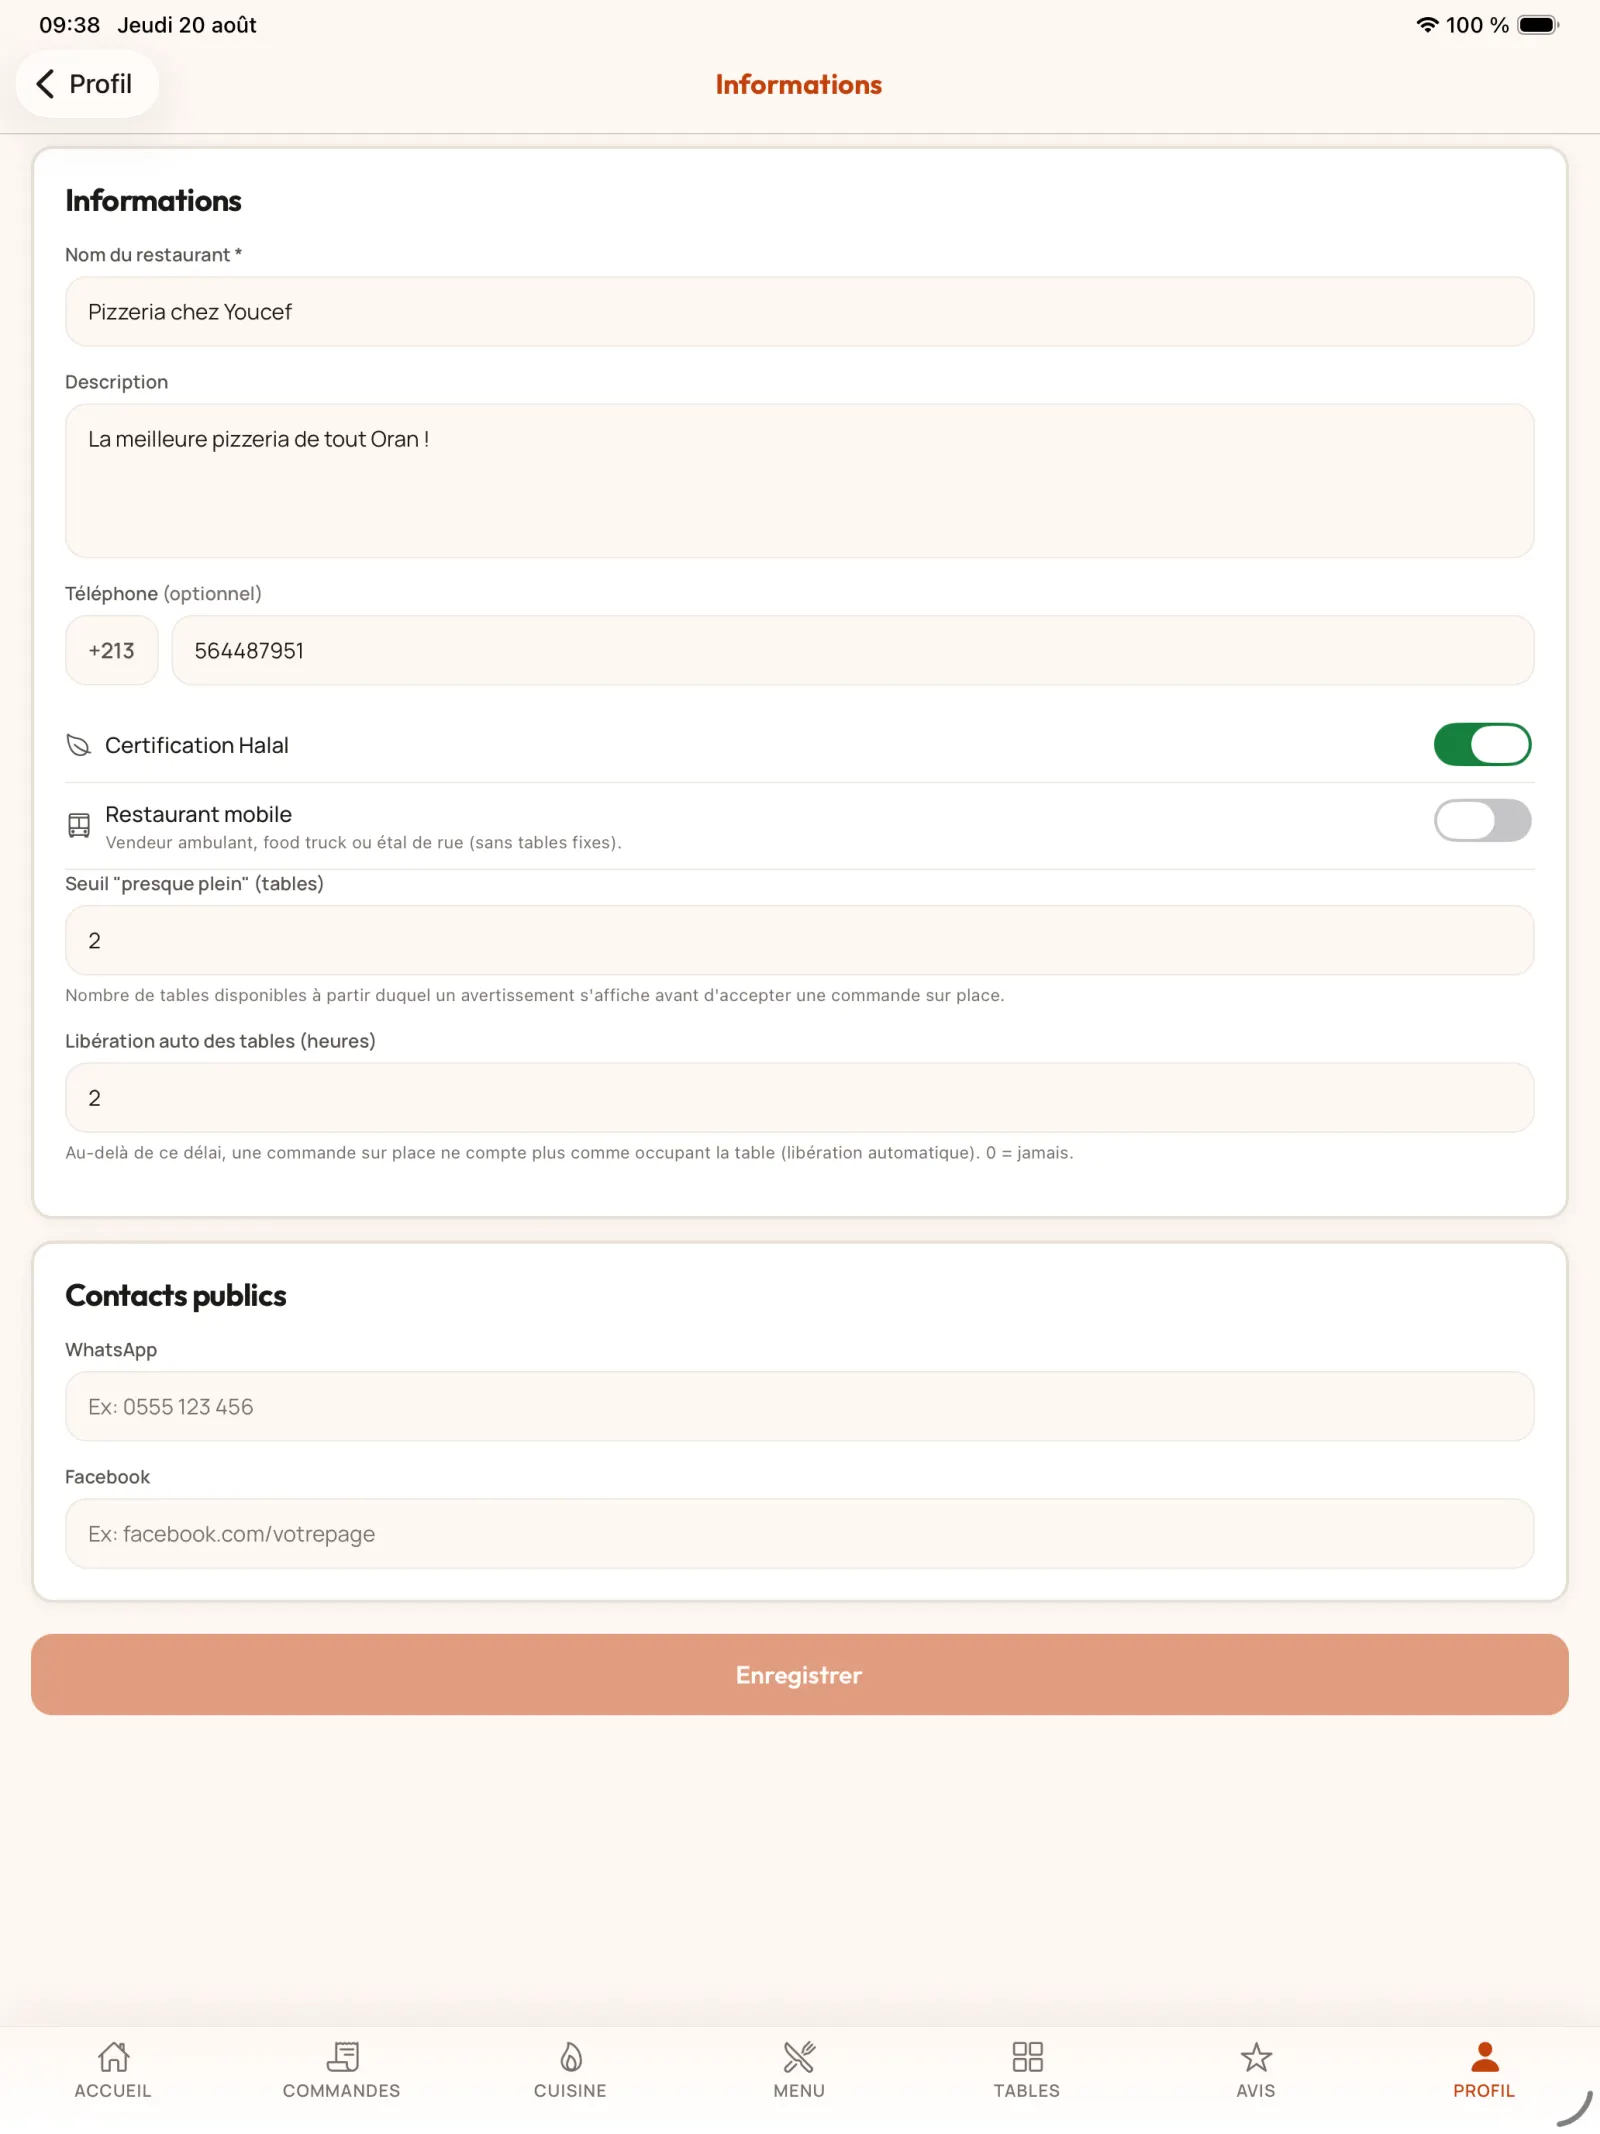
Step 3
Configure general information
Update name, description, phone and public contacts. Table-related settings allow you to indicate when the room is almost full and automatically release an inactive table.
In practice. Enter your WhatsApp and your Facebook page: these contacts will be accessible from the restaurant profile in the KoulChi application. The “almost full” threshold informs the team when few tables remain available without blocking order taking. Automatic release also prevents an inactive table from remaining busy indefinitely in tracking.
Open full-size image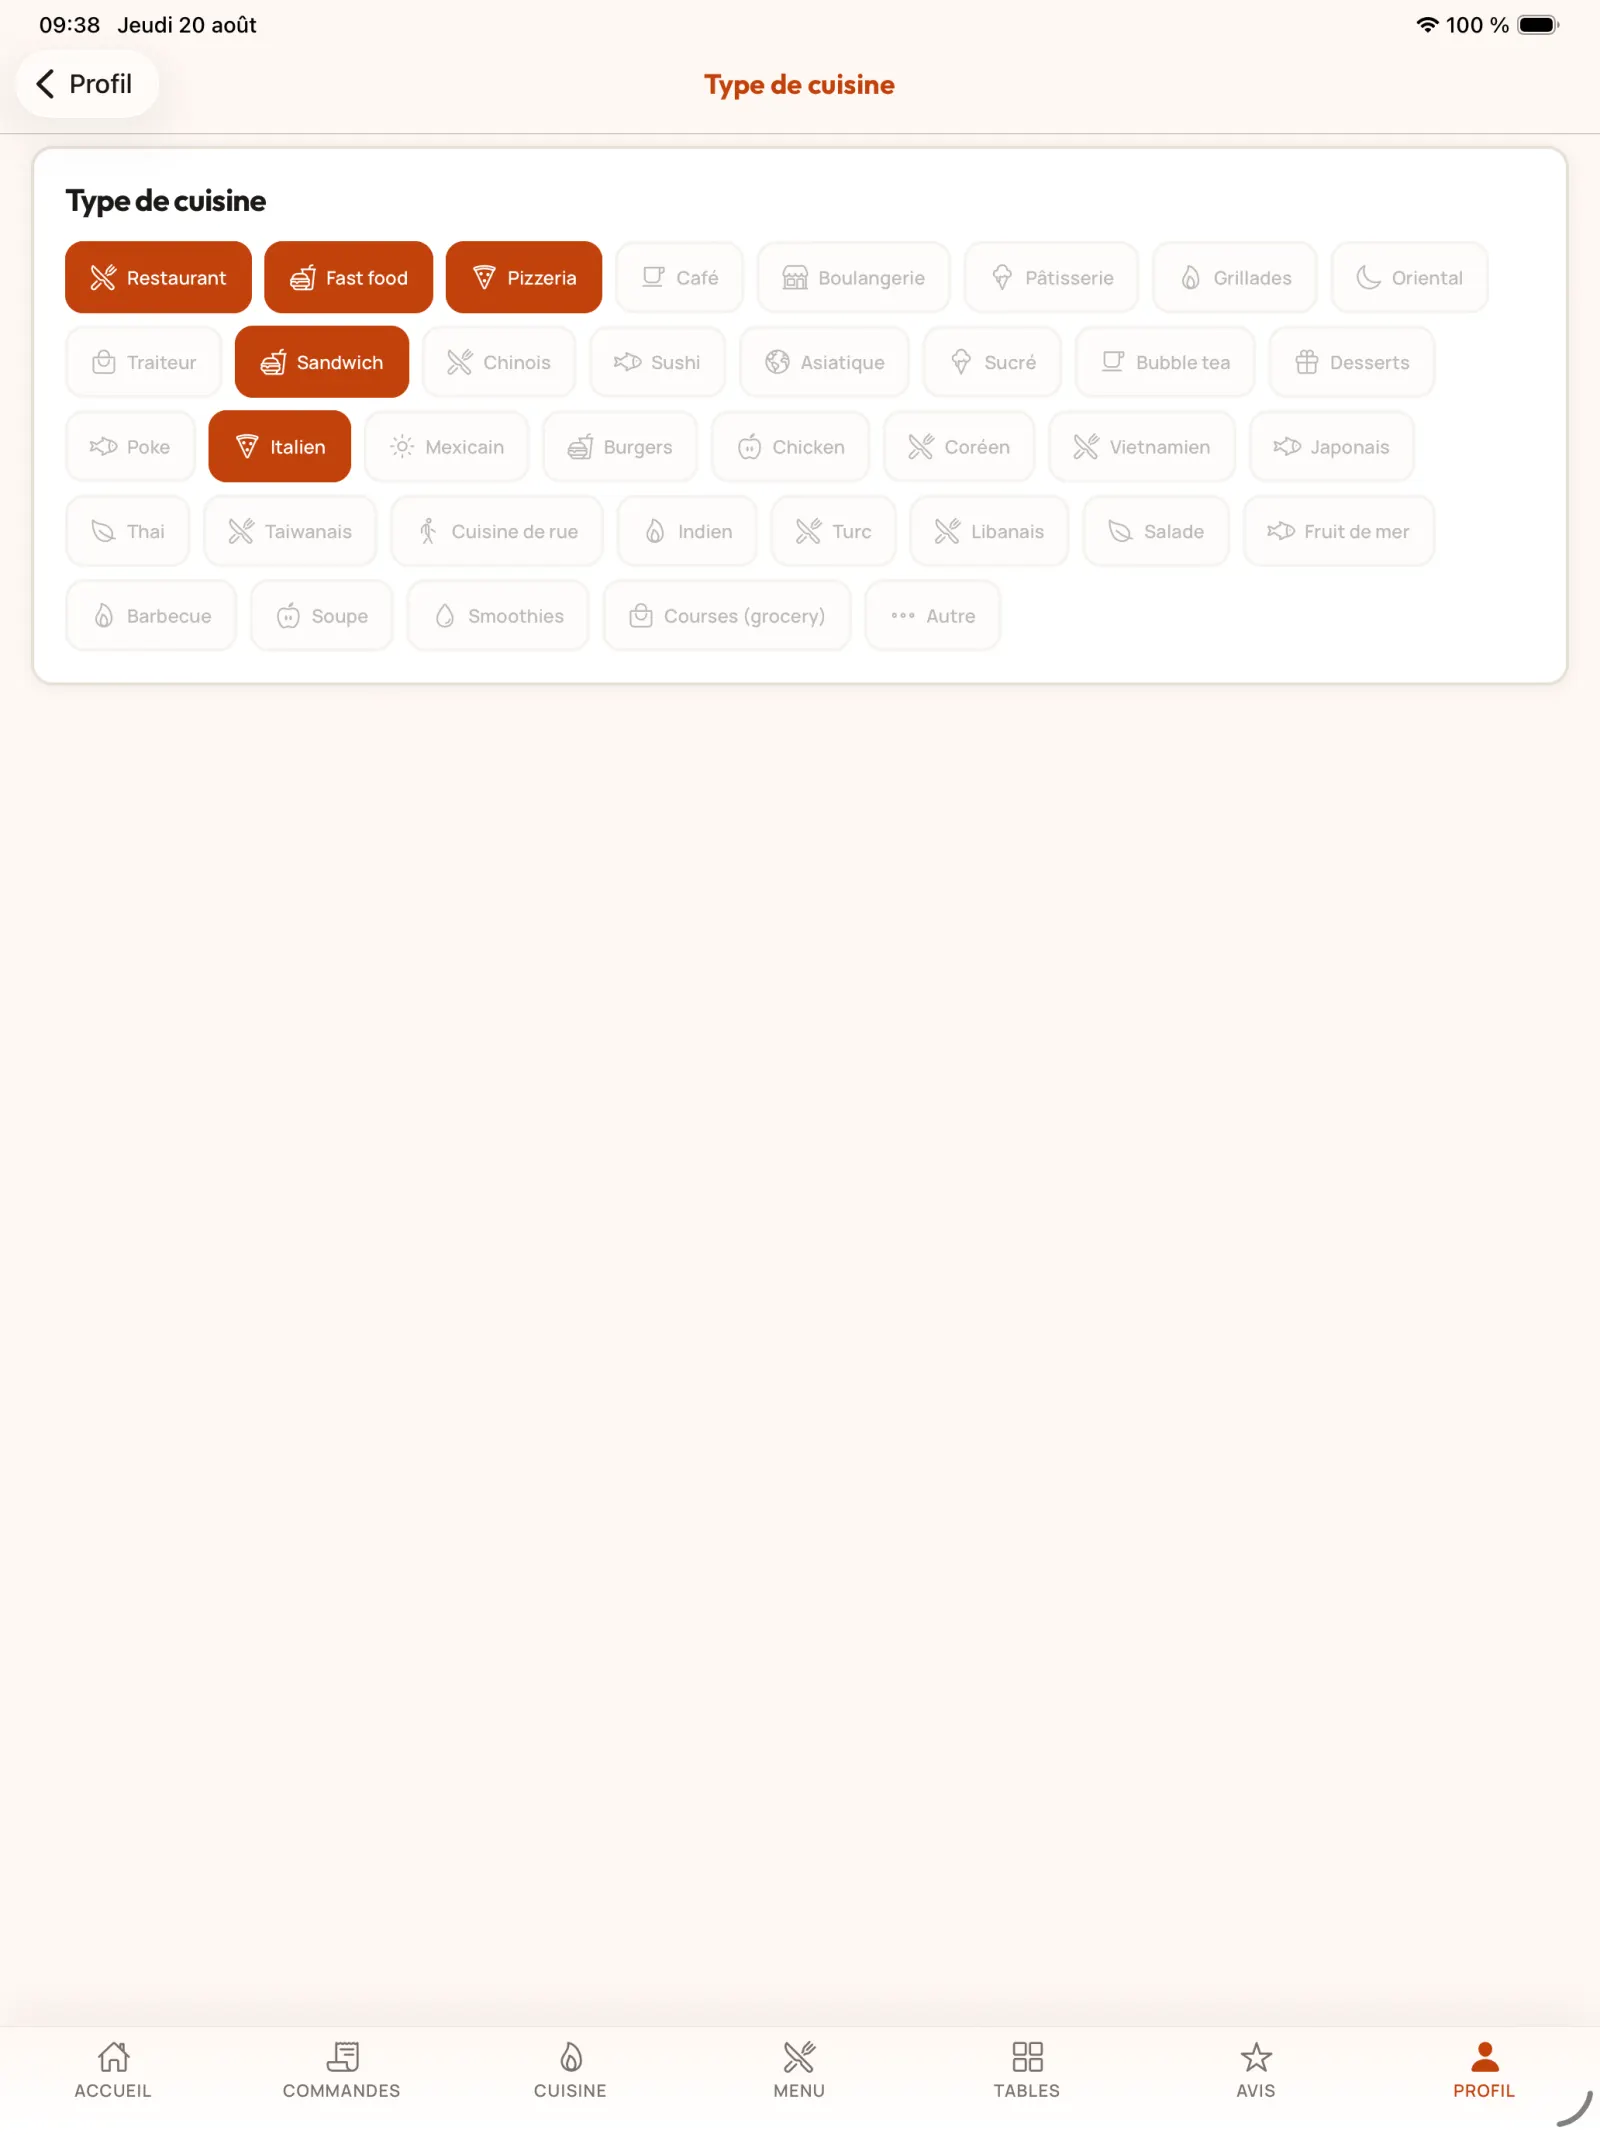
Step 4
Update cuisine types
Choose the cuisine types that best describe the establishment, within the limit indicated by the application.
Open full-size image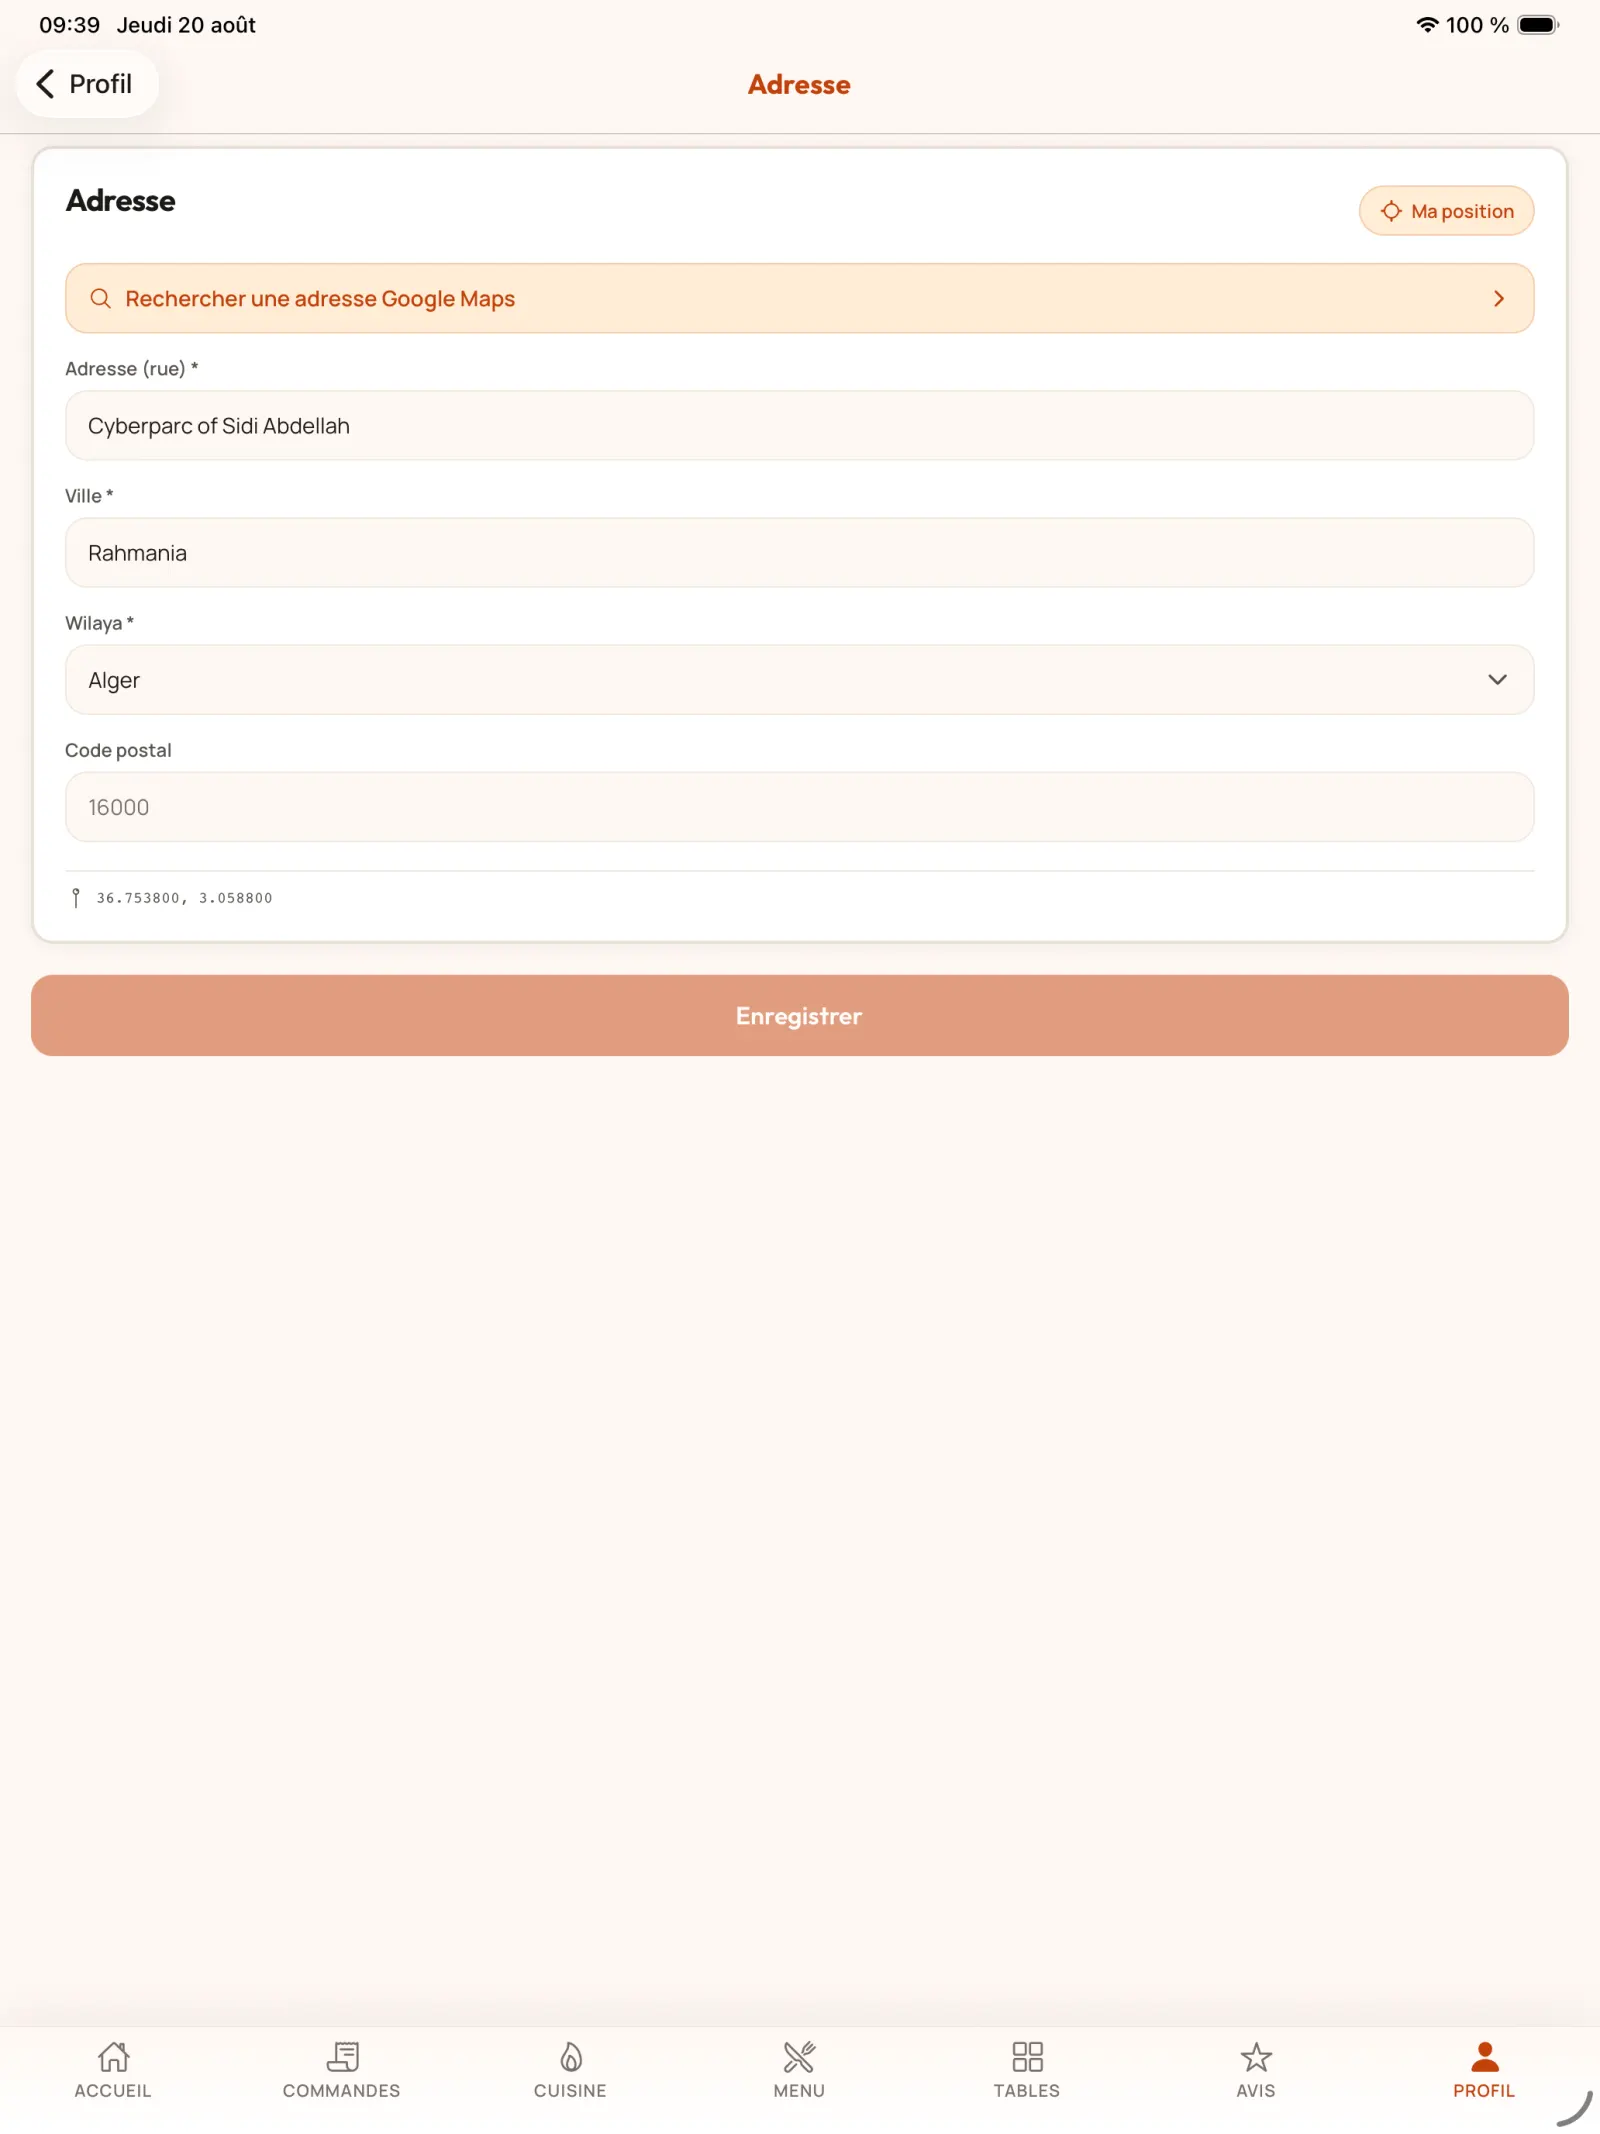
Step 5
Change address
Search then validate the new address in order to maintain a reliable location on the restaurant file.
Open full-size image
Chapter 2
Set opening hours and preferences
Opening hours determine the periods during which customers can order. Settings adjust the daily operation of the application.
Step 6
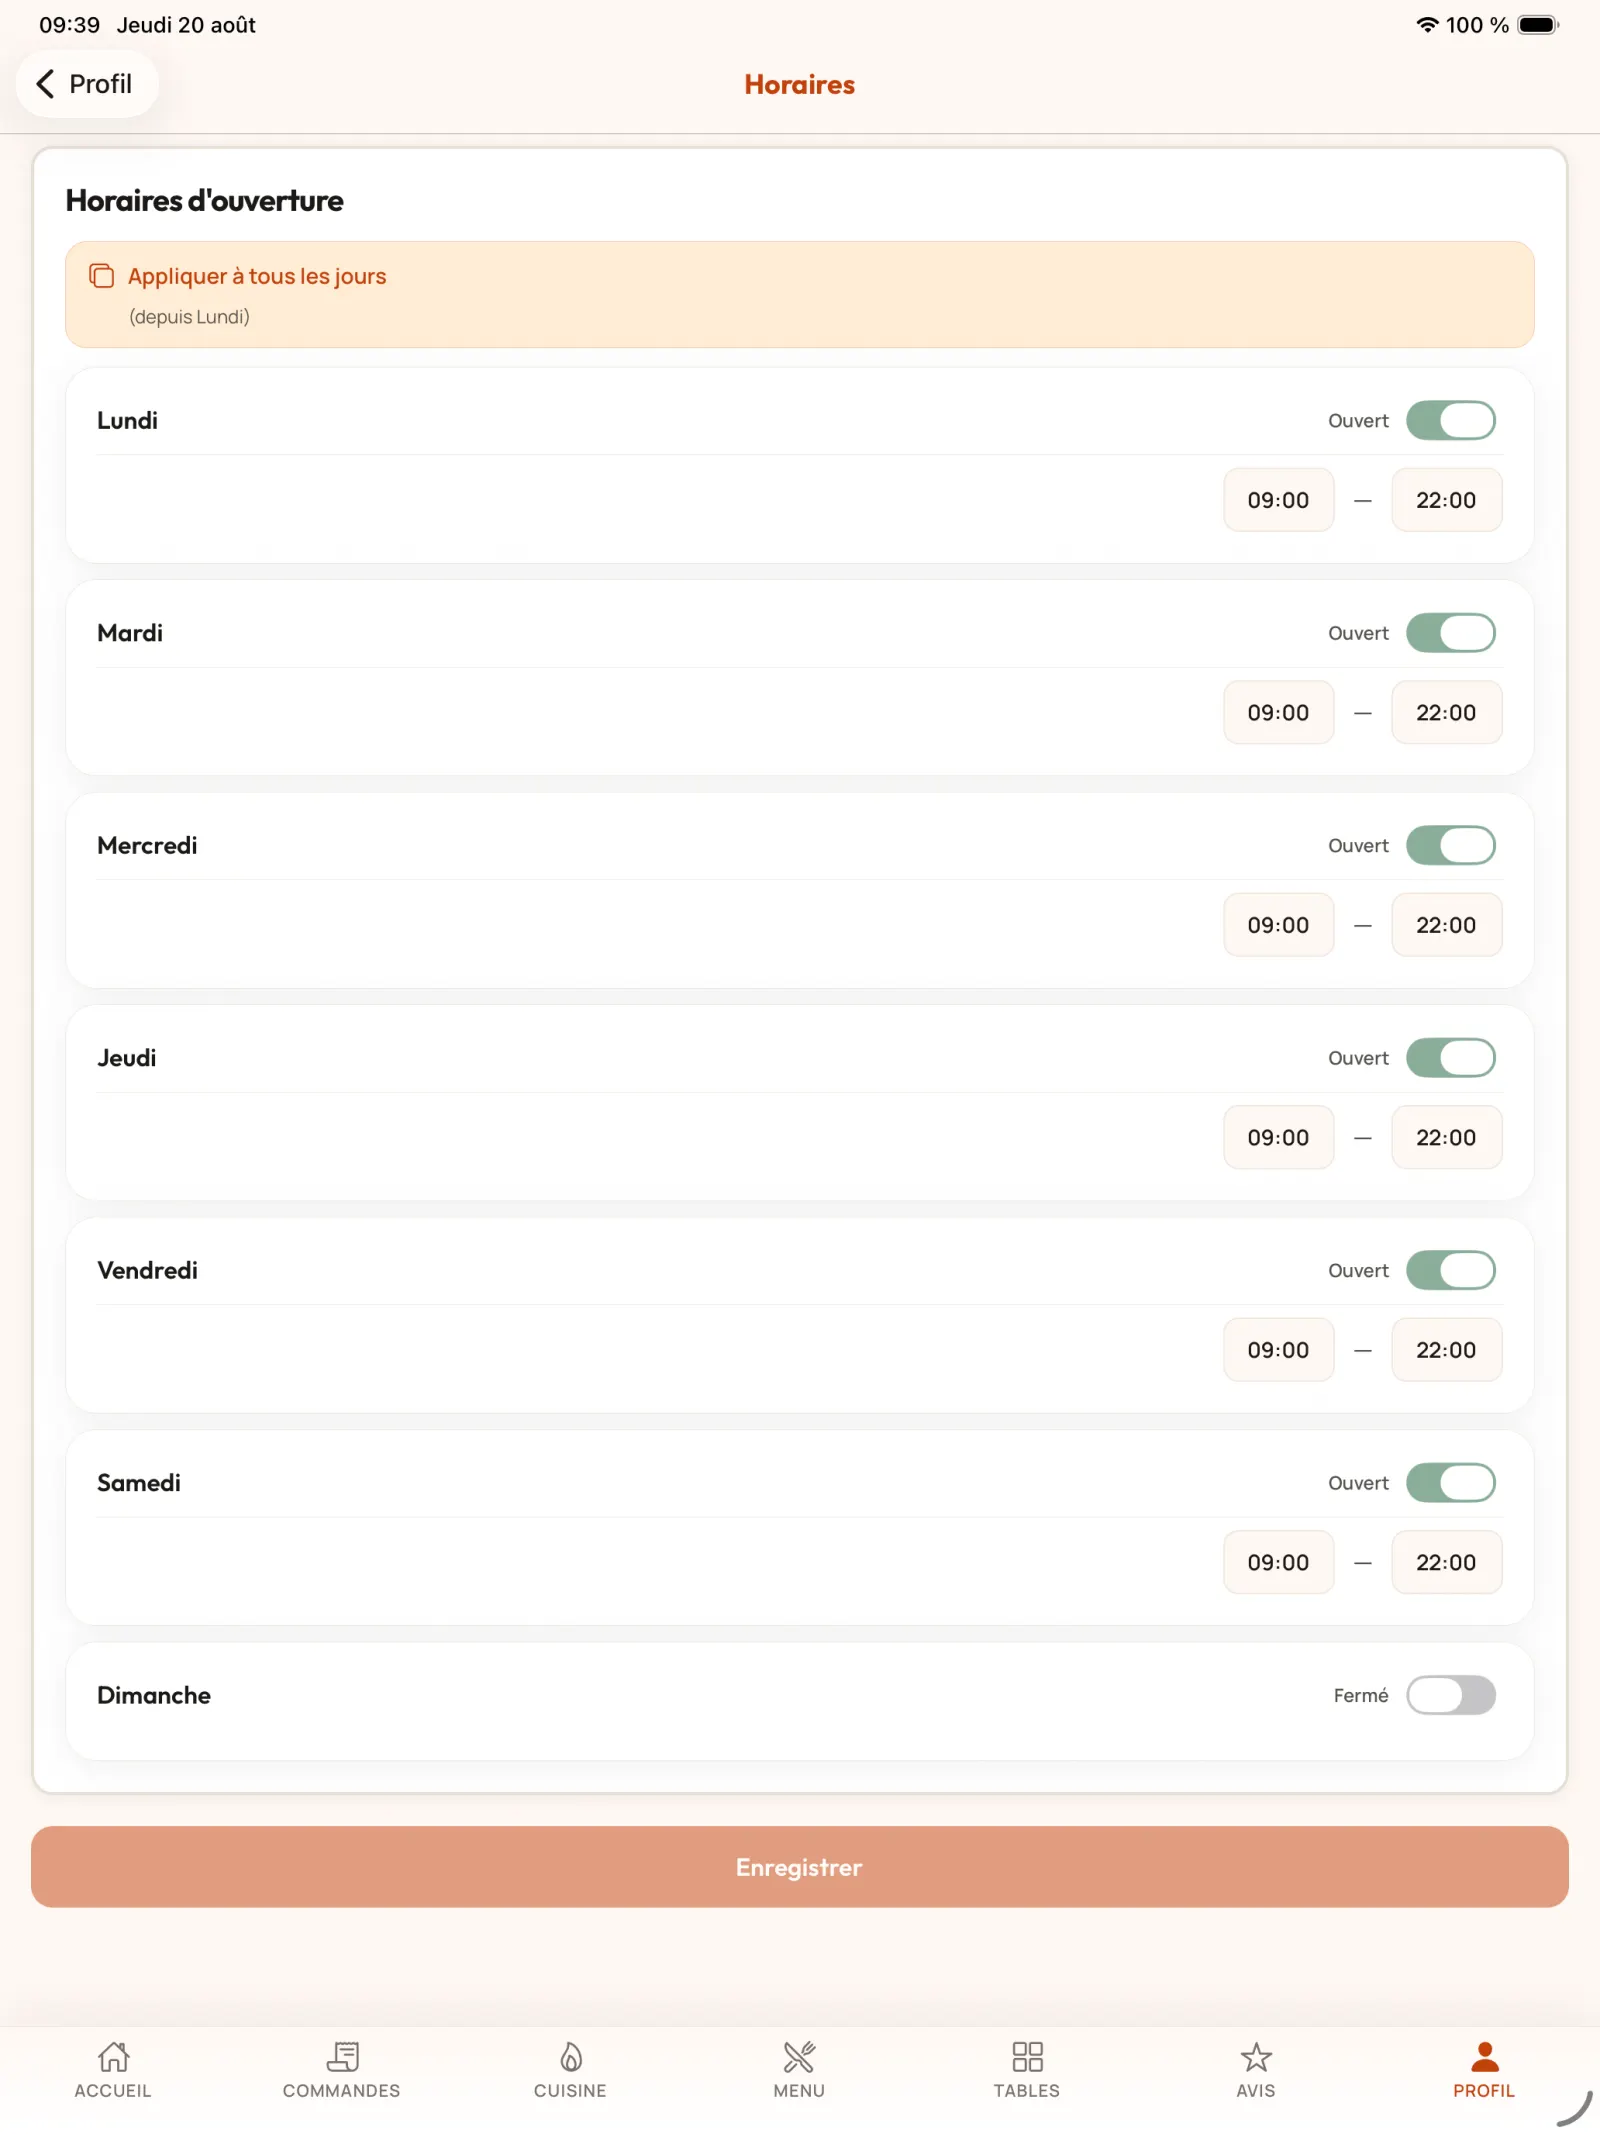
Enter opening hours
Activate the opening days and indicate the corresponding time slots. Save the changes once the week is configured.
In practice. Opening hours directly control commercial availability: customers cannot choose a slot located outside the recorded opening periods.
Open full-size image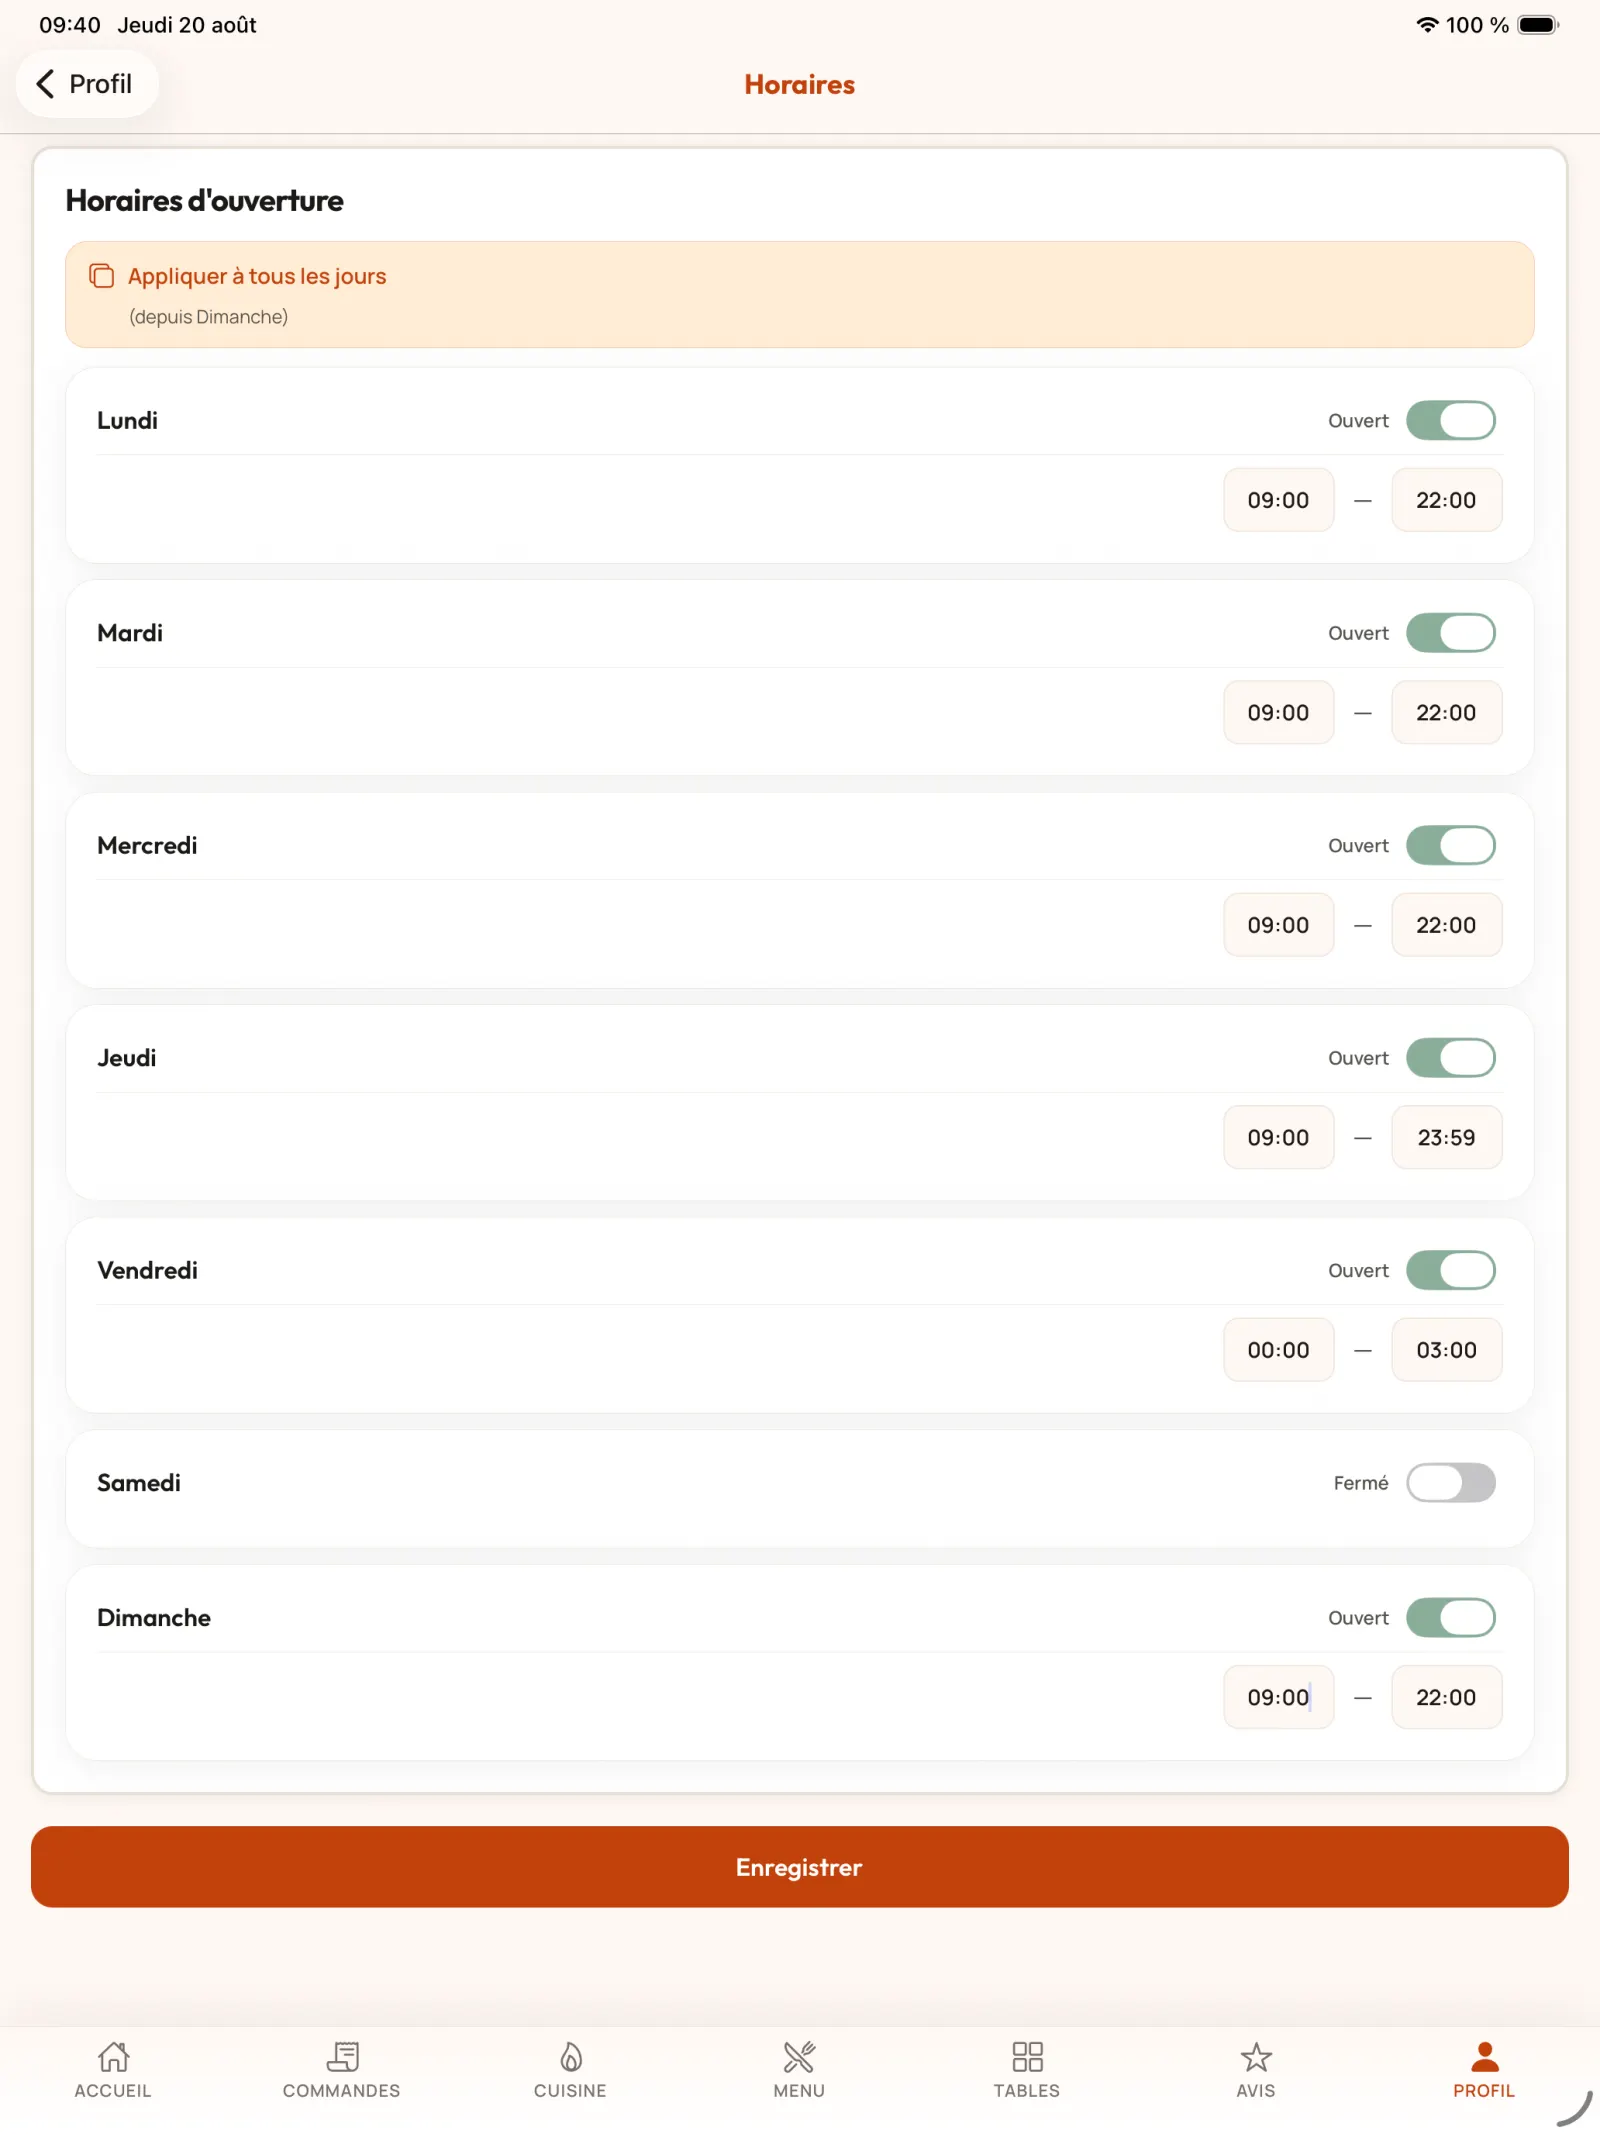
Step 7
Manage closing after midnight
For an activity that ends after midnight, spread the opening over two days: until 11:59 p.m., then from 12:00 a.m. to closing time the next day.
In practice. Example: To close at 3:00 a.m. on Friday morning, open on Thursday until 11:59 p.m., then add a Friday slot from 12:00 a.m. to 3:00 a.m. The restaurant can thus remain closed the rest of Friday while correctly covering night service.
Open full-size image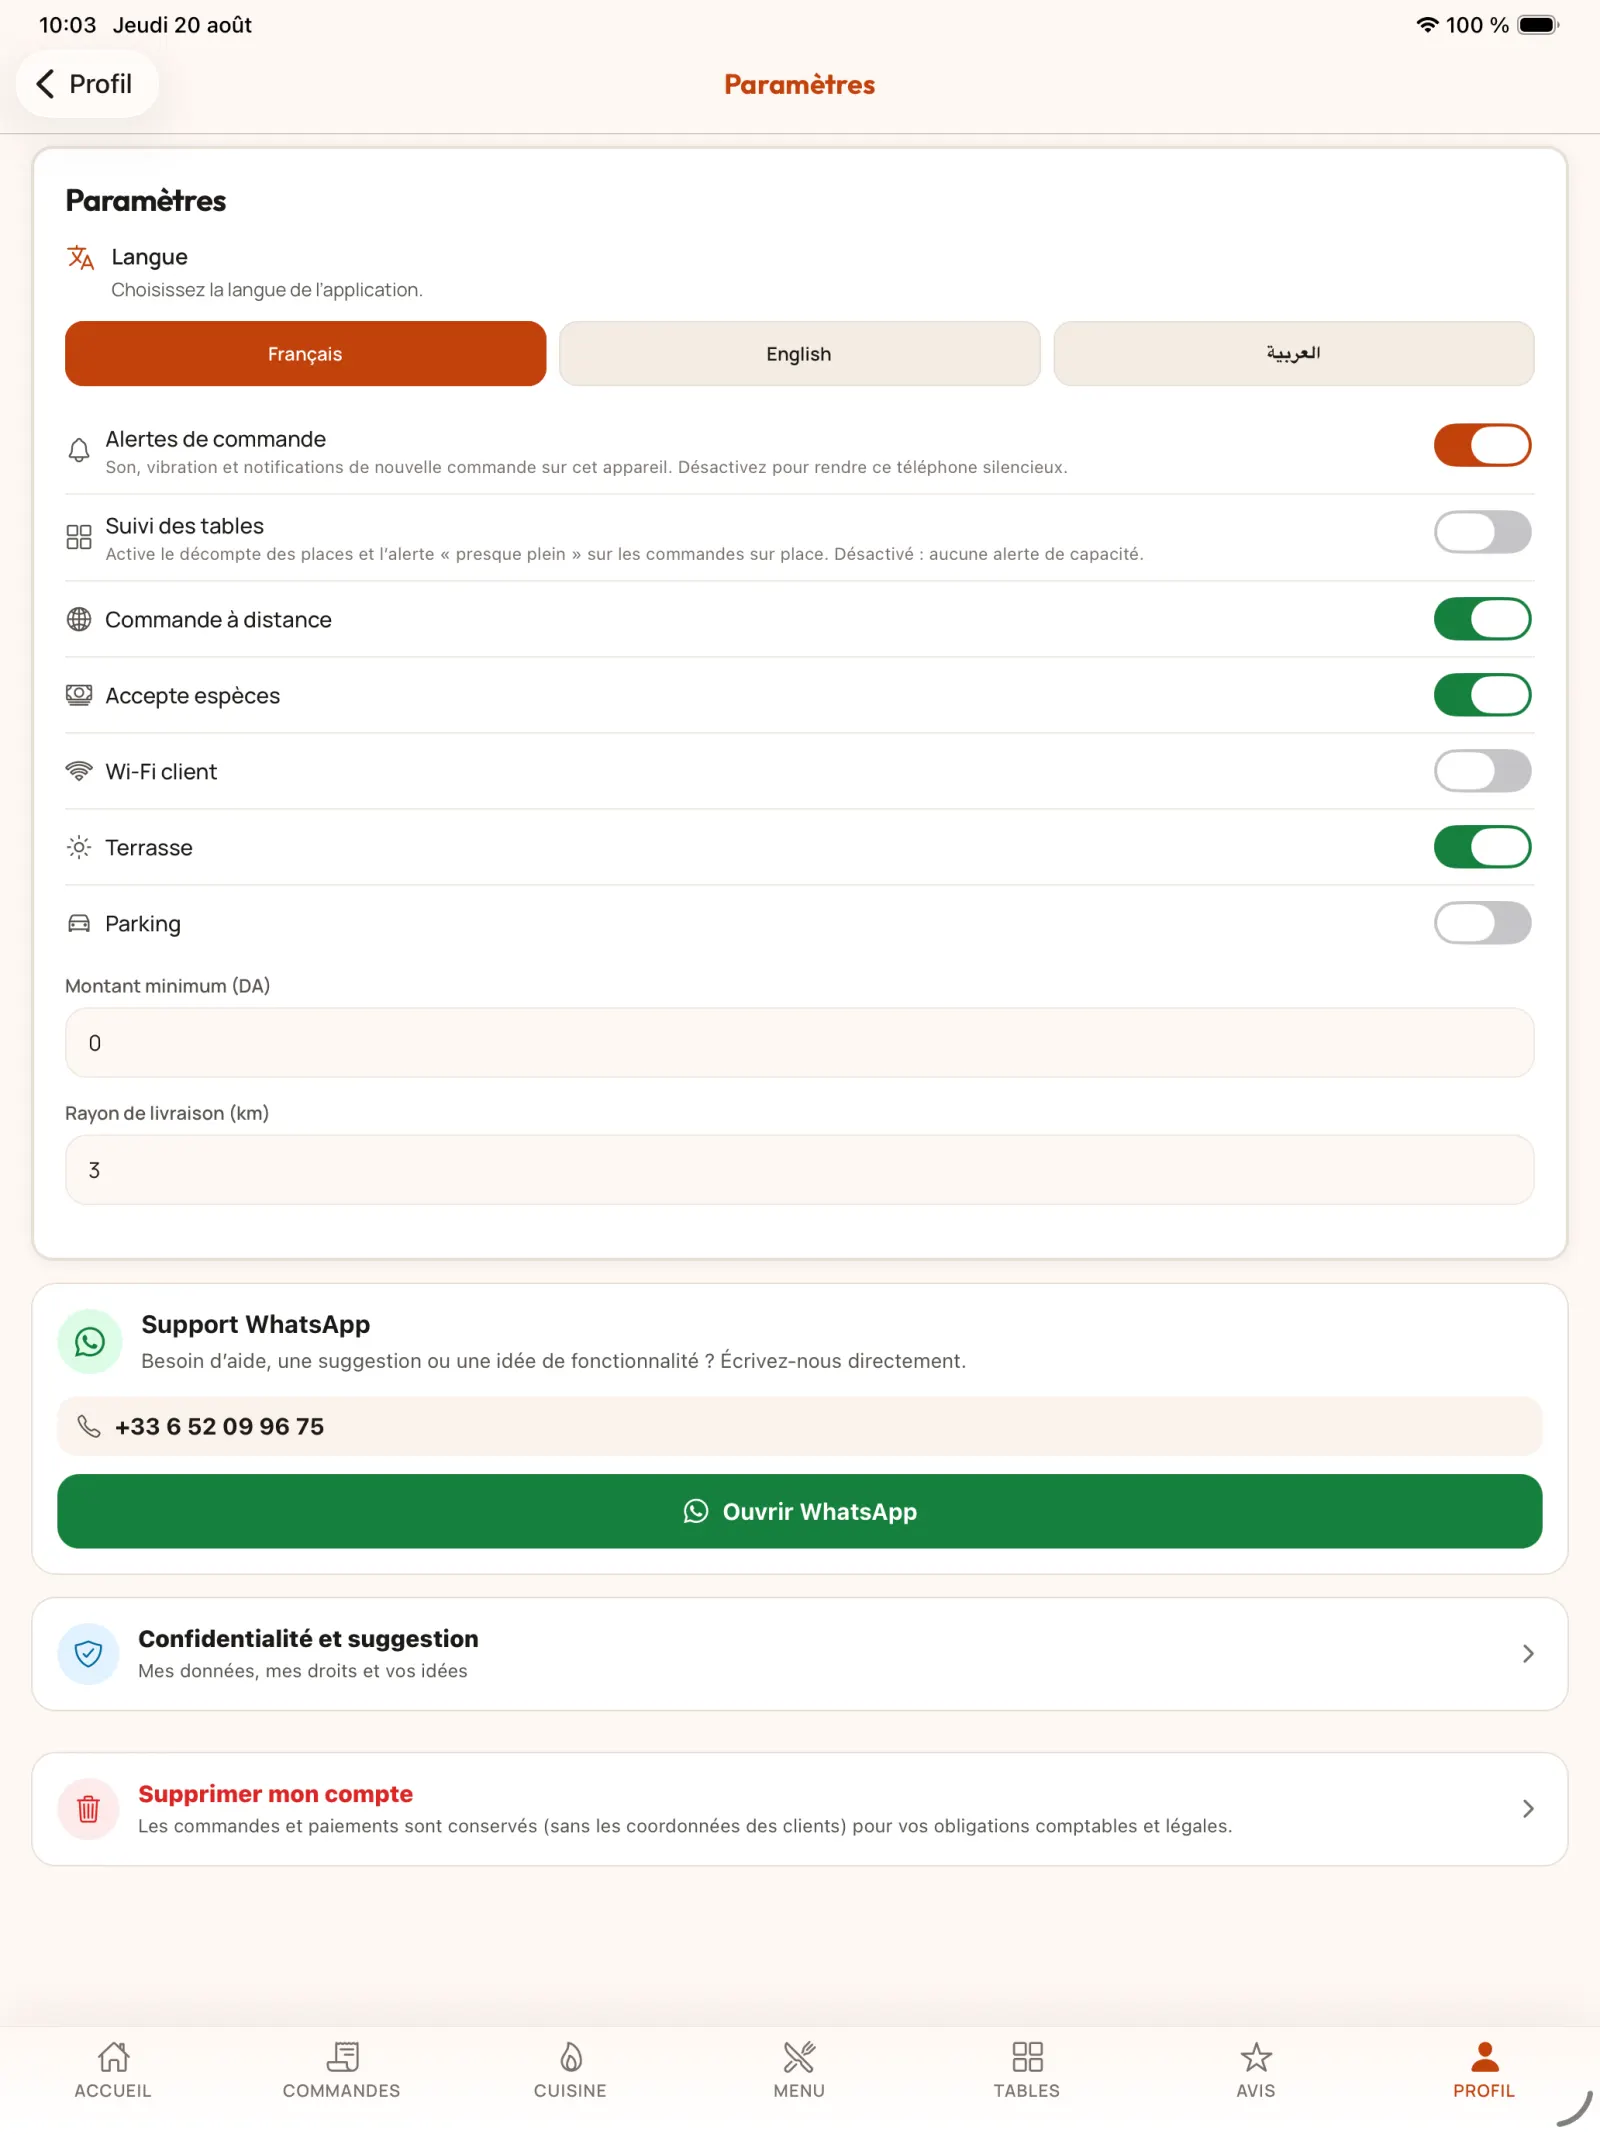
Step 8
Adjust restaurant settings
Change the language, enable table tracking, and keep new order alerts if you want to be notified with a pop-up and beep. The restaurant's services also remain modifiable here.
In practice. Keep the order alert active on at least one device used during service. The window and sound signal force the team to become aware of a new order, even when the Orders screen is not open.
Open full-size image
Chapter 3
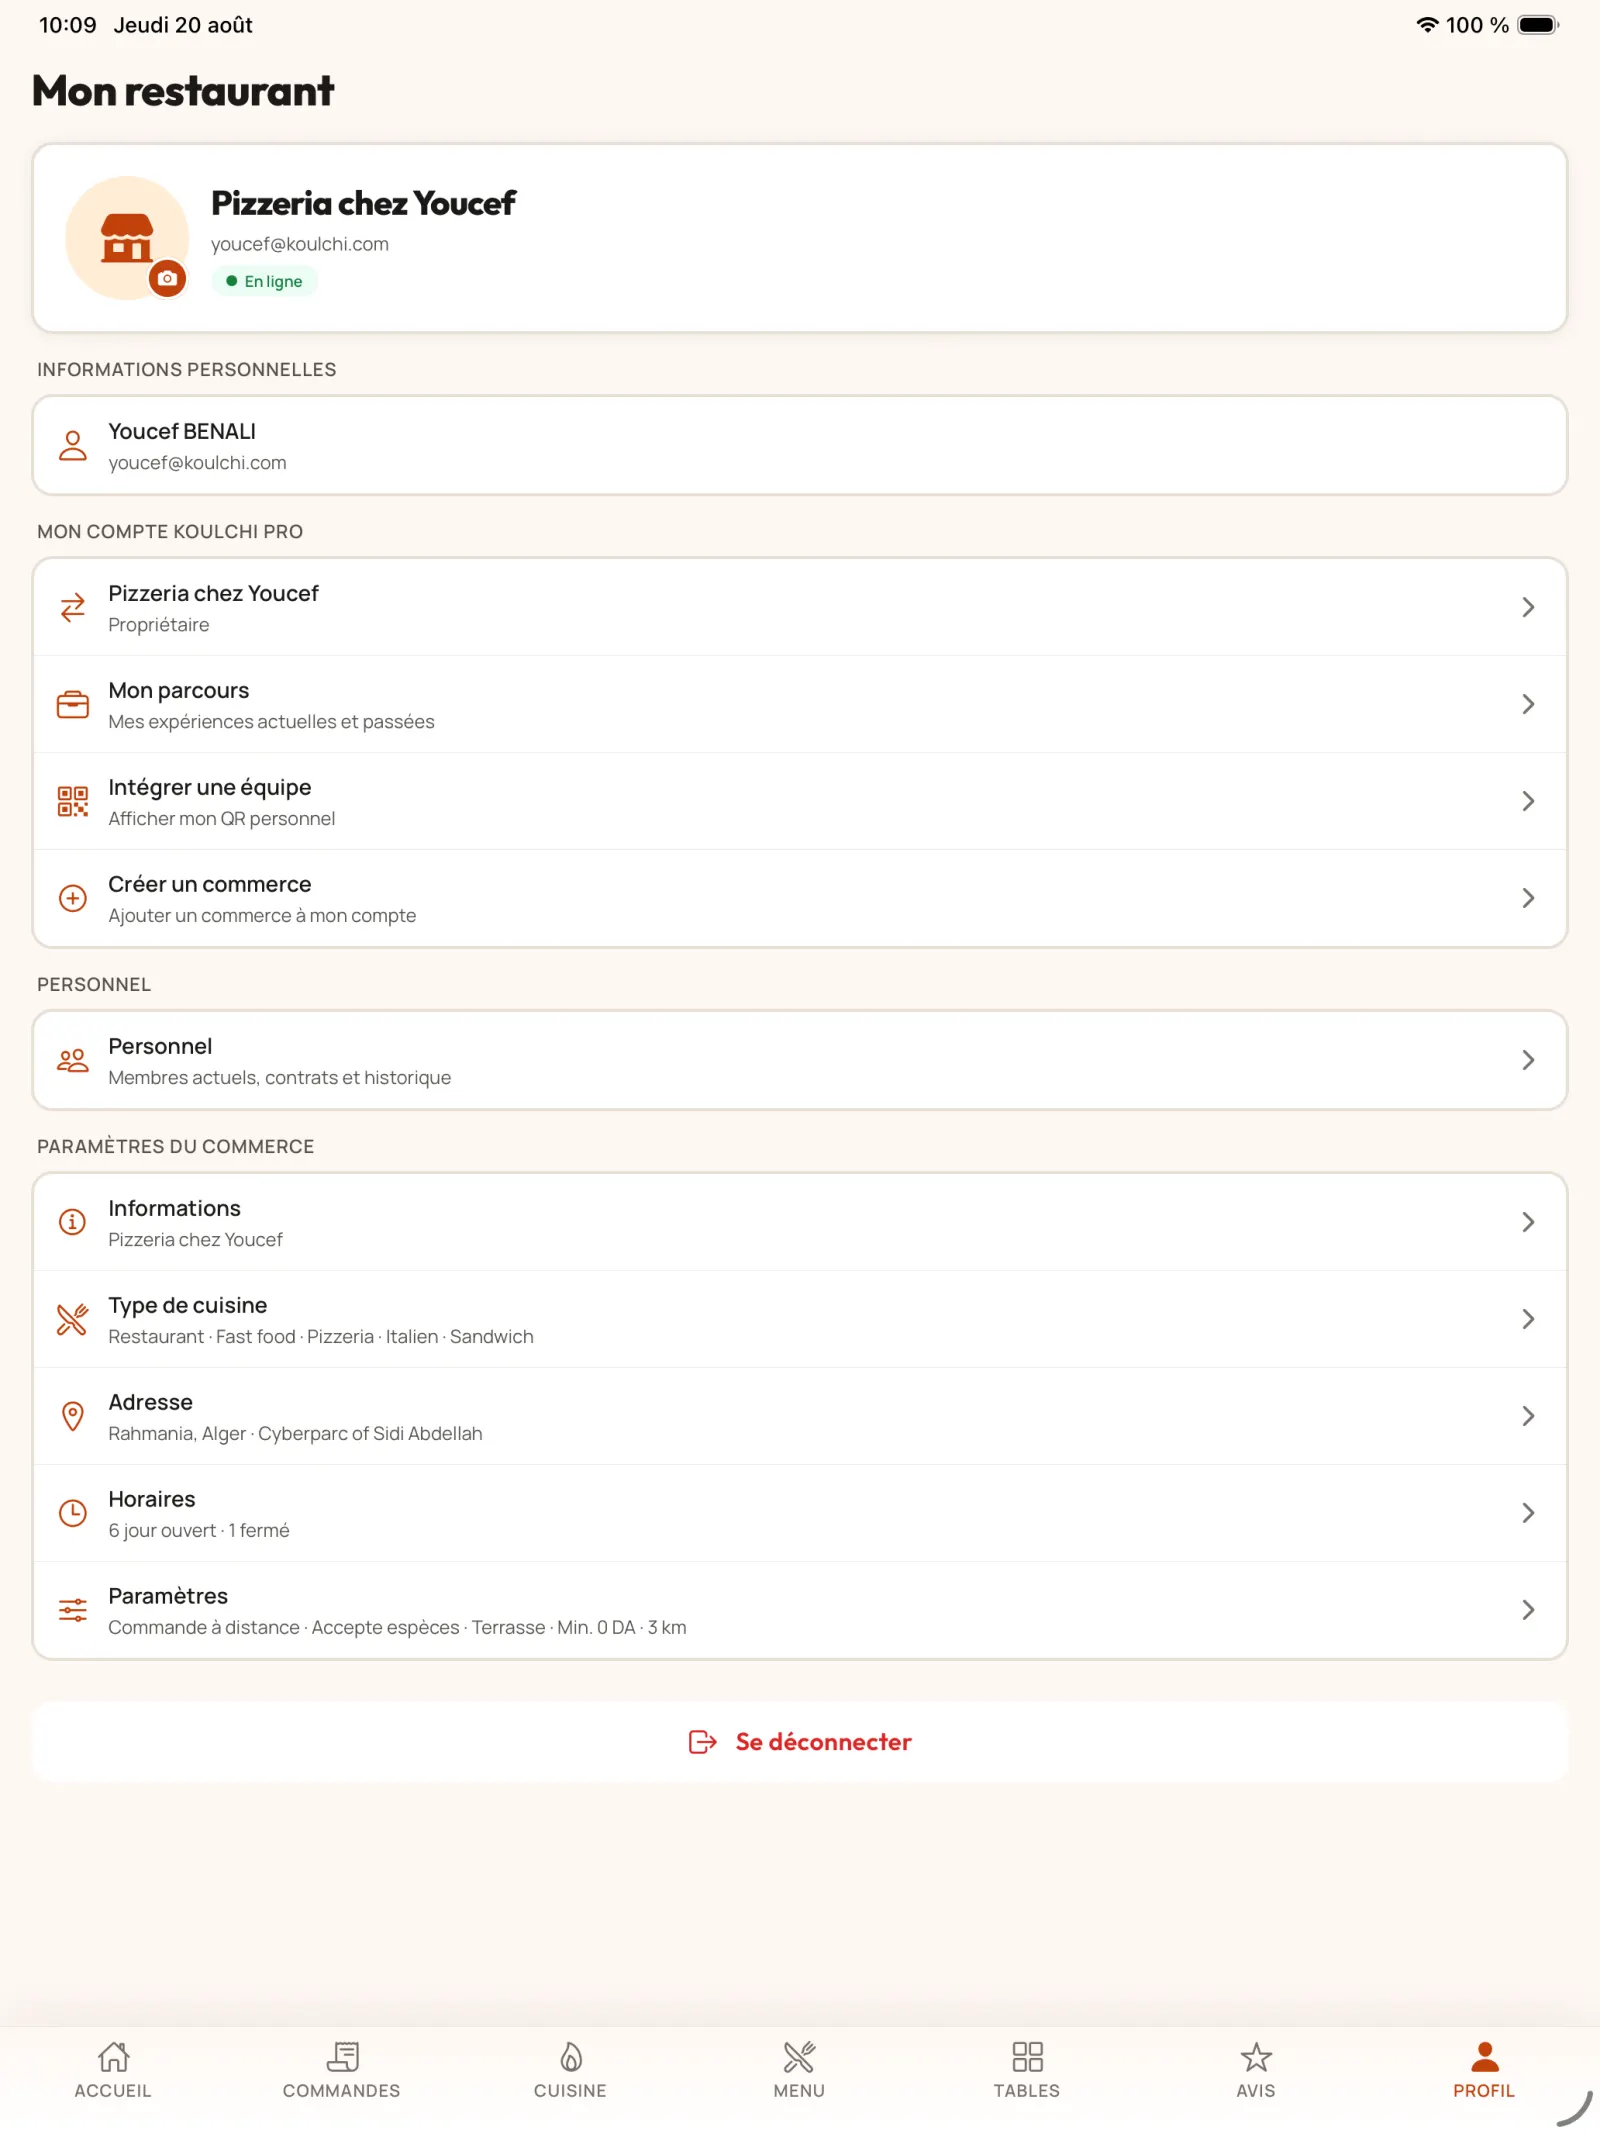
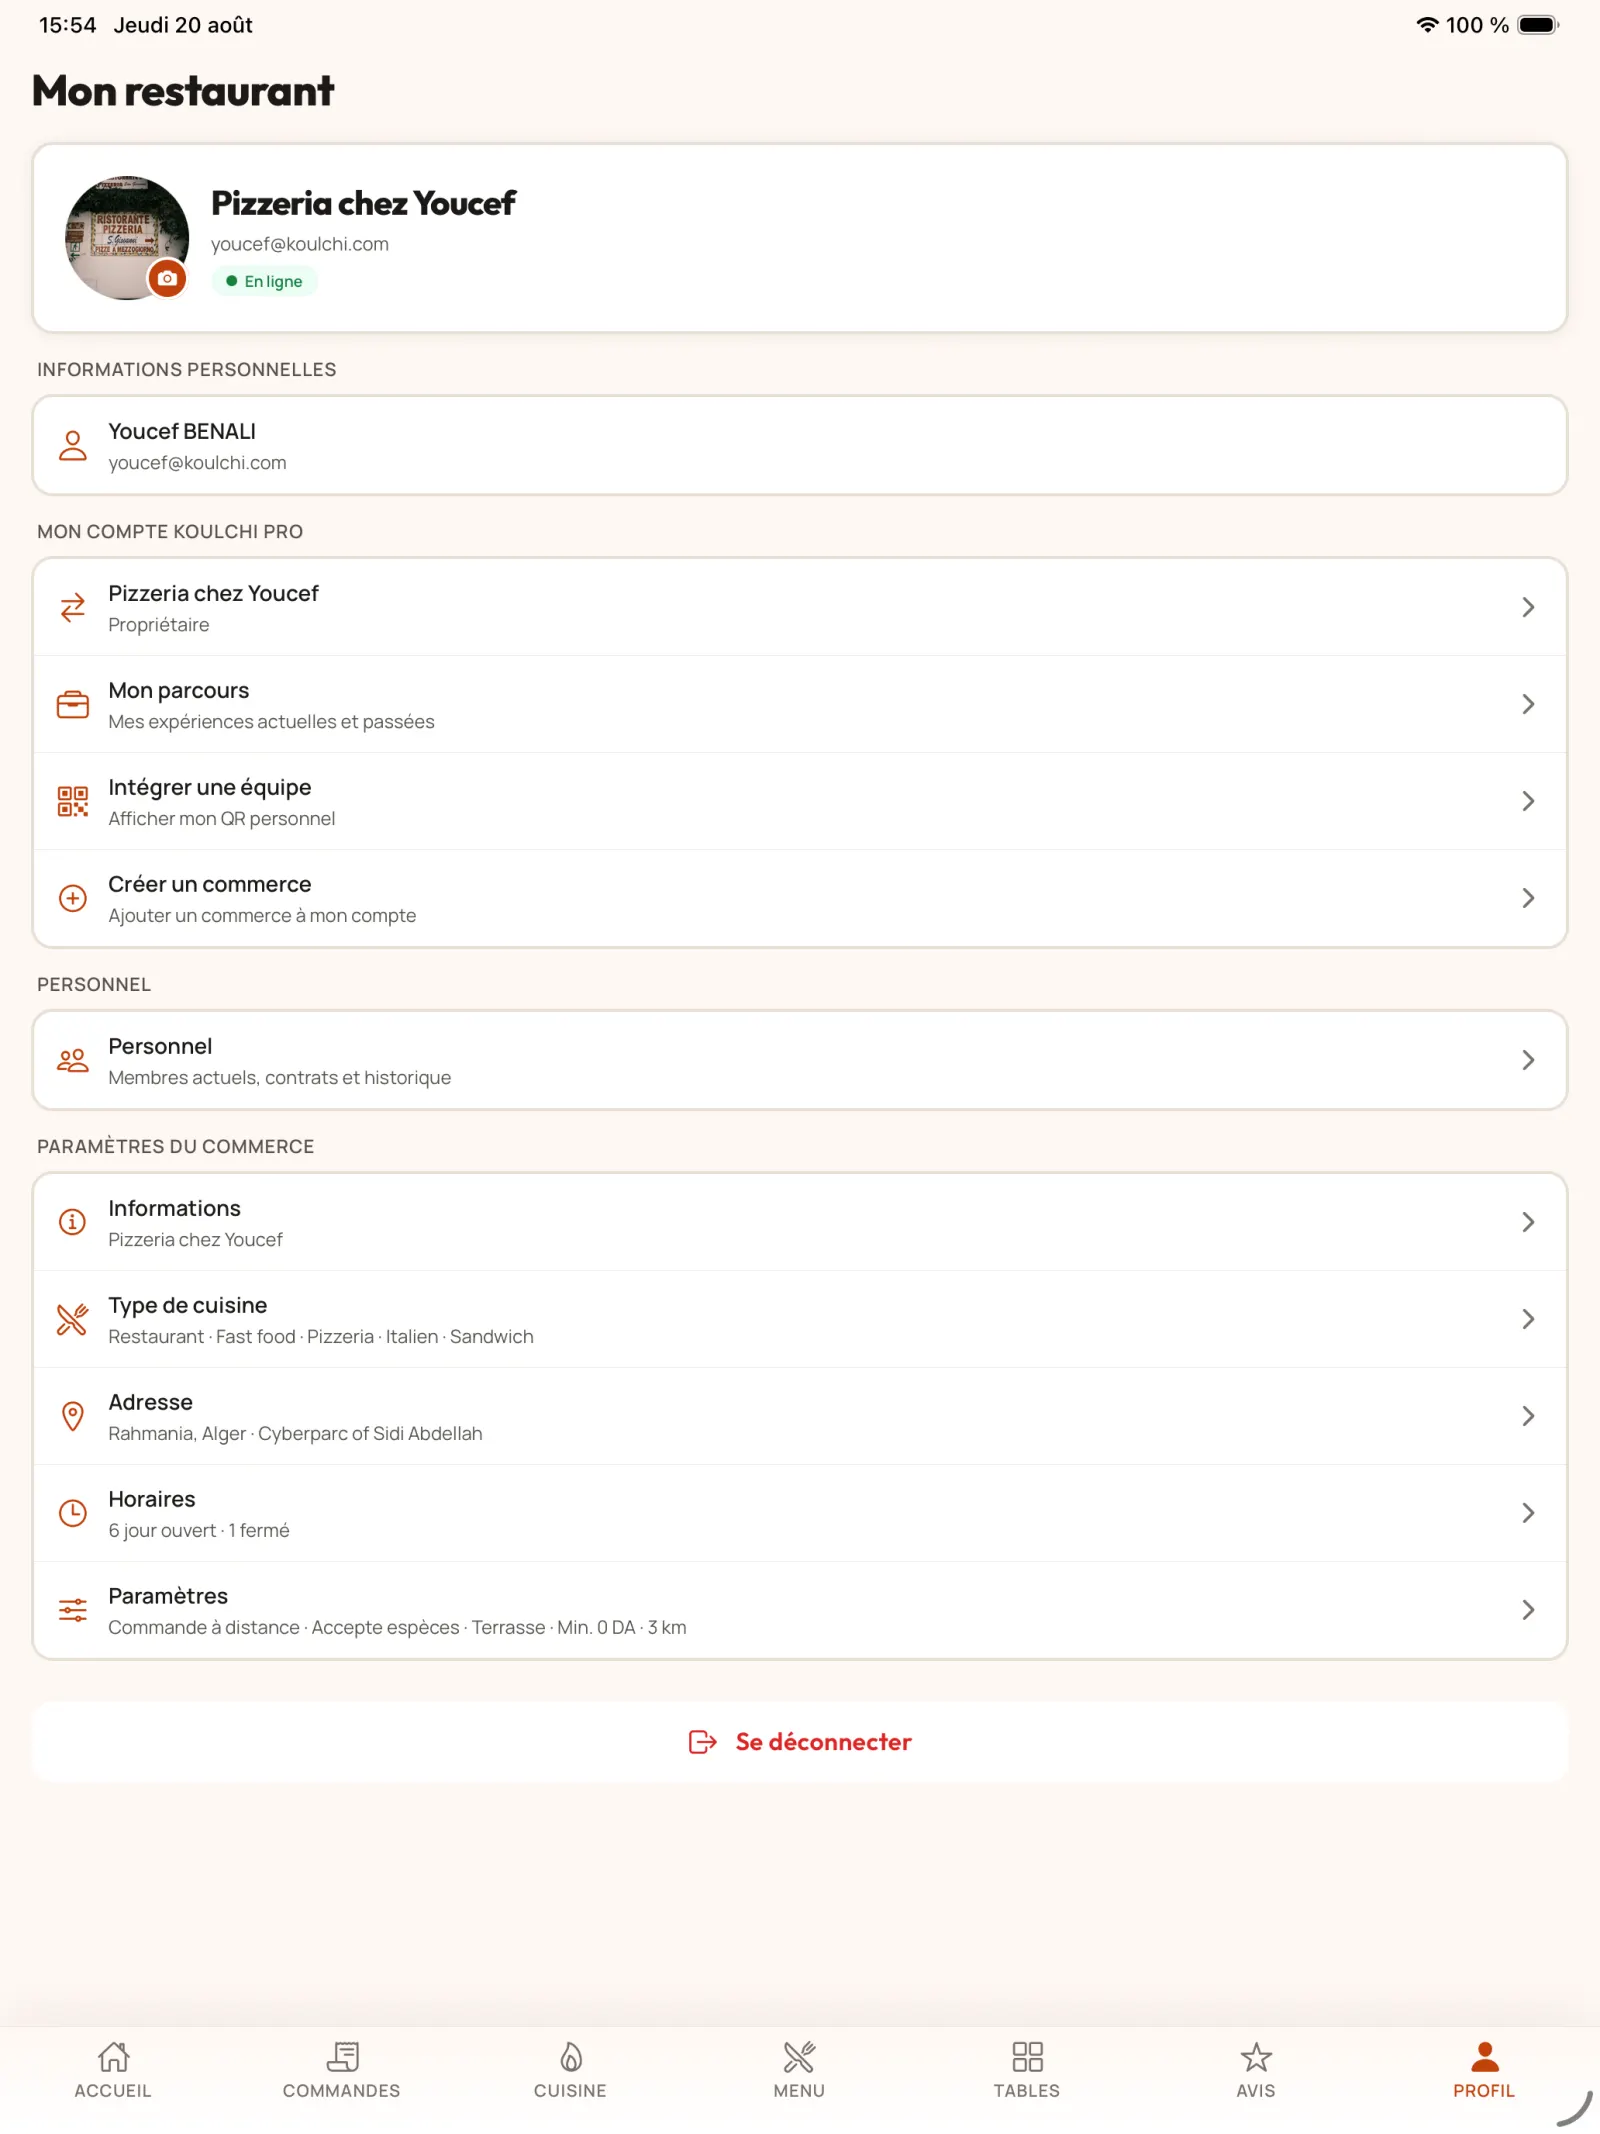
Add restaurant photo
A clear photo, like a logo or a storefront, helps identify the restaurant on its various KoulChi pages.
Step 9
Start adding a photo
Tap the camera icon located on the profile picture.
Open full-size image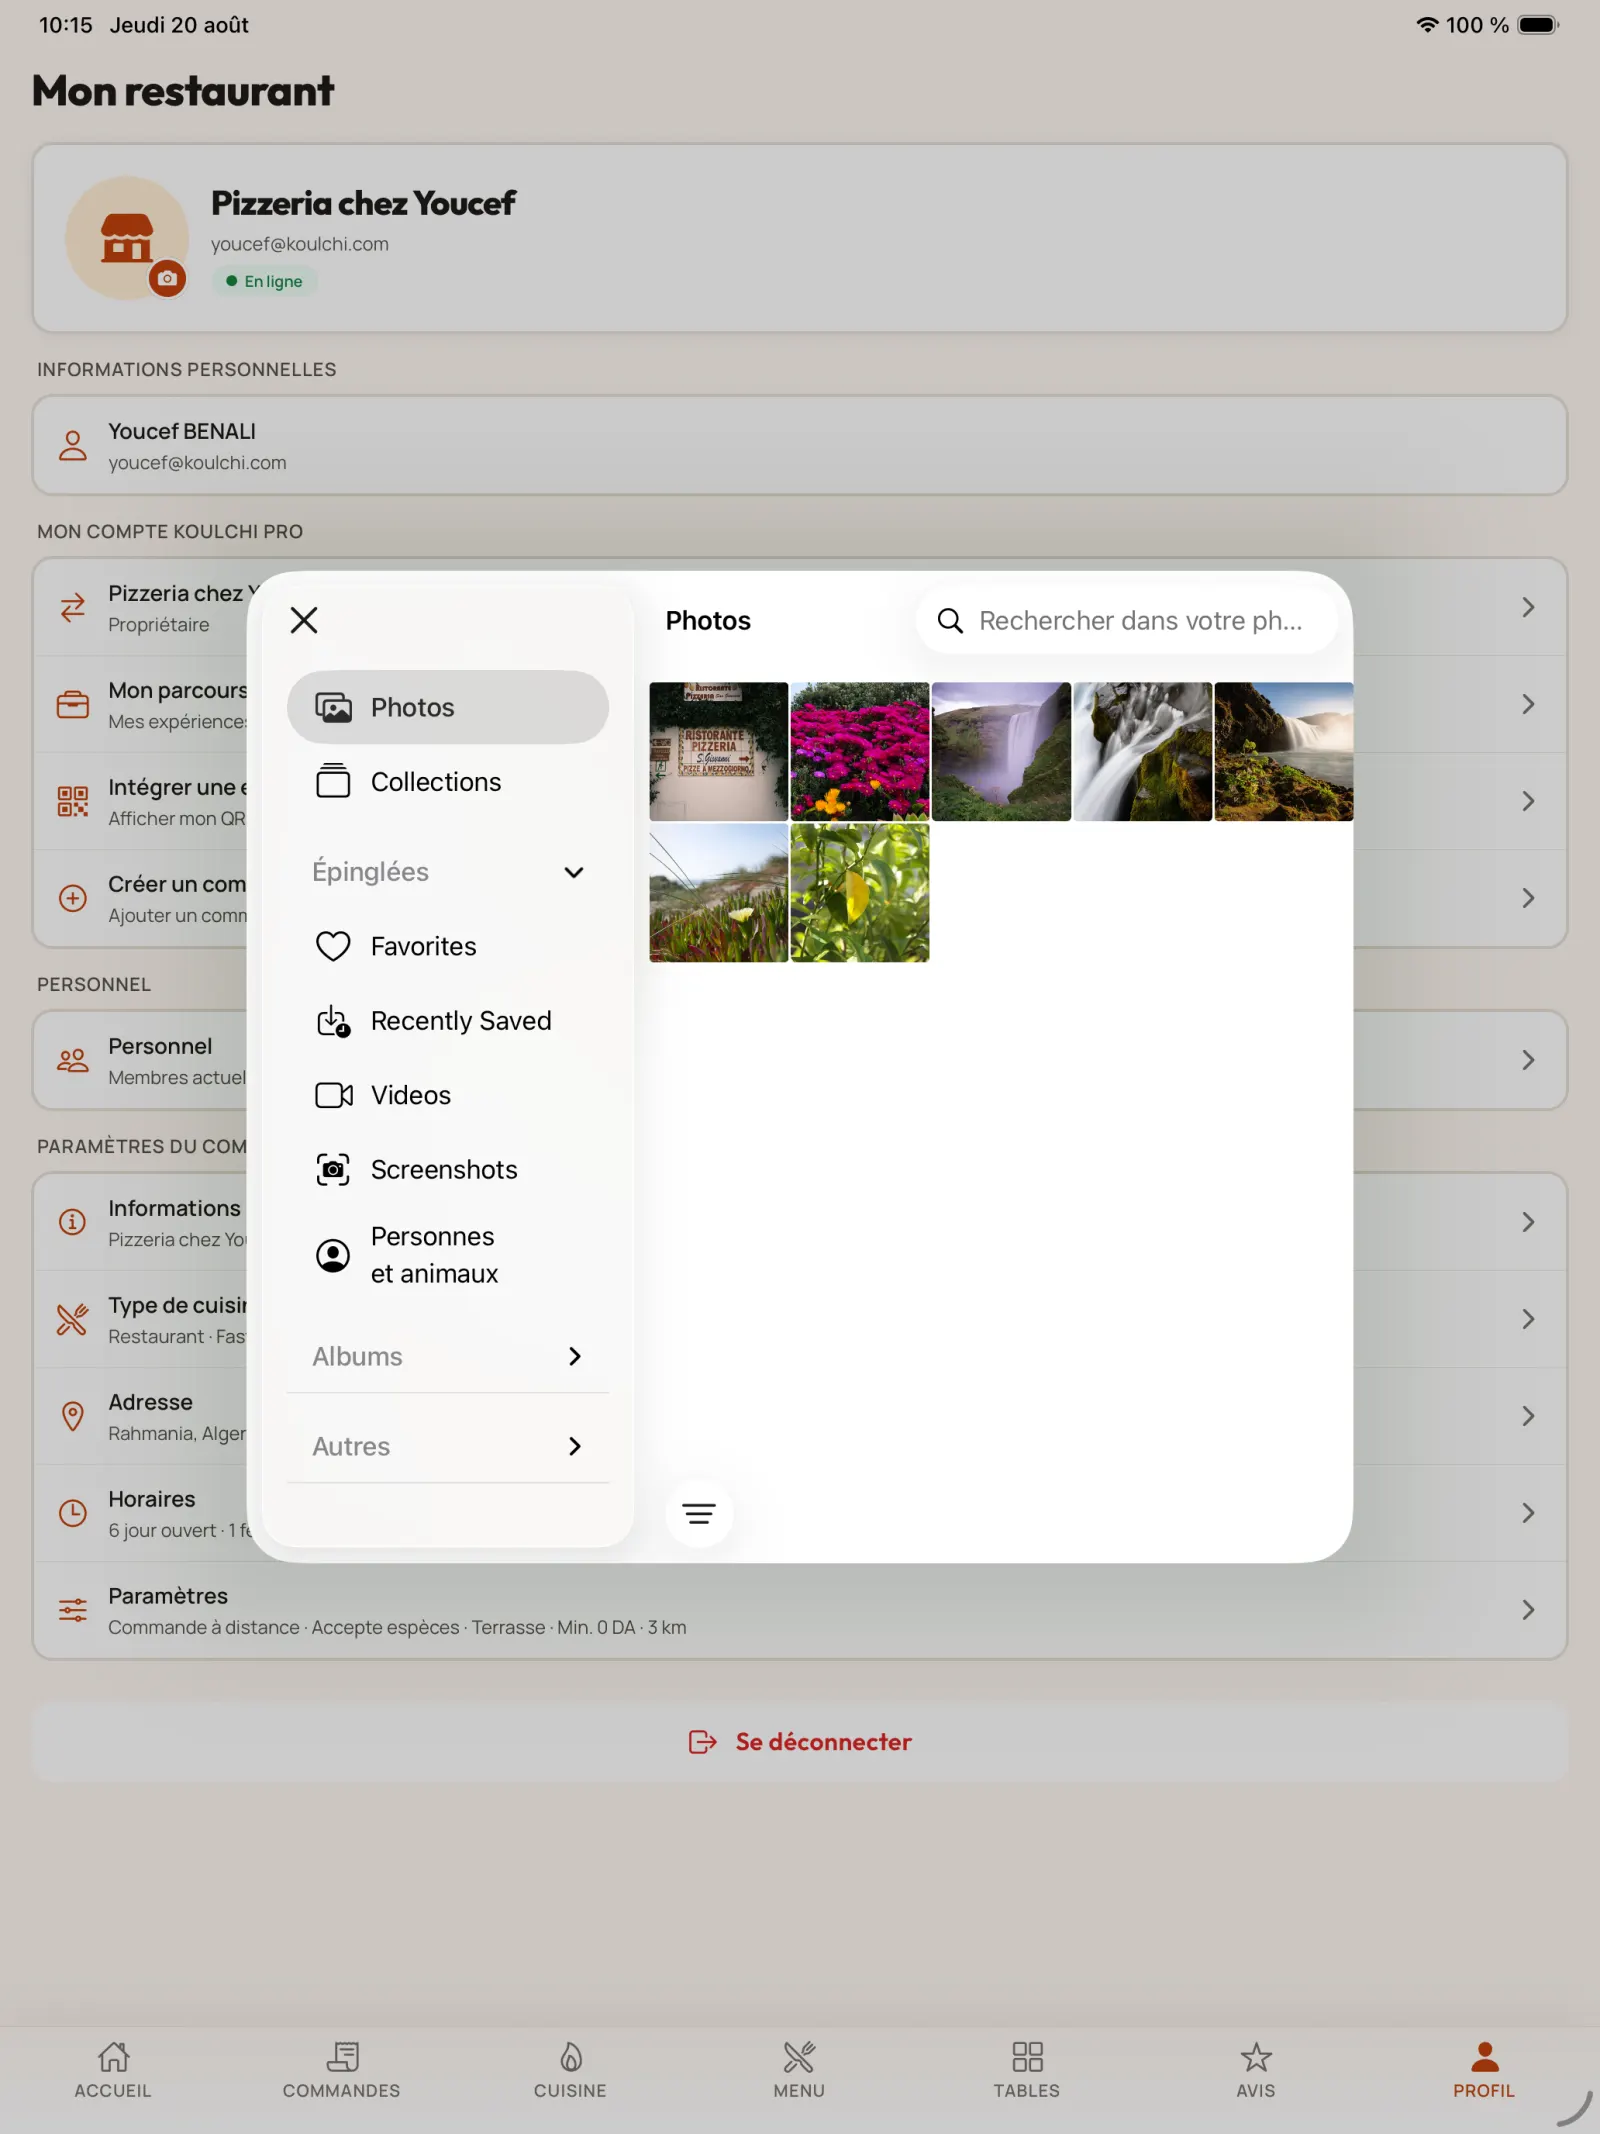
Step 10
Choose an image
Select the logo or storefront photo from the device's photo library.
Open full-size image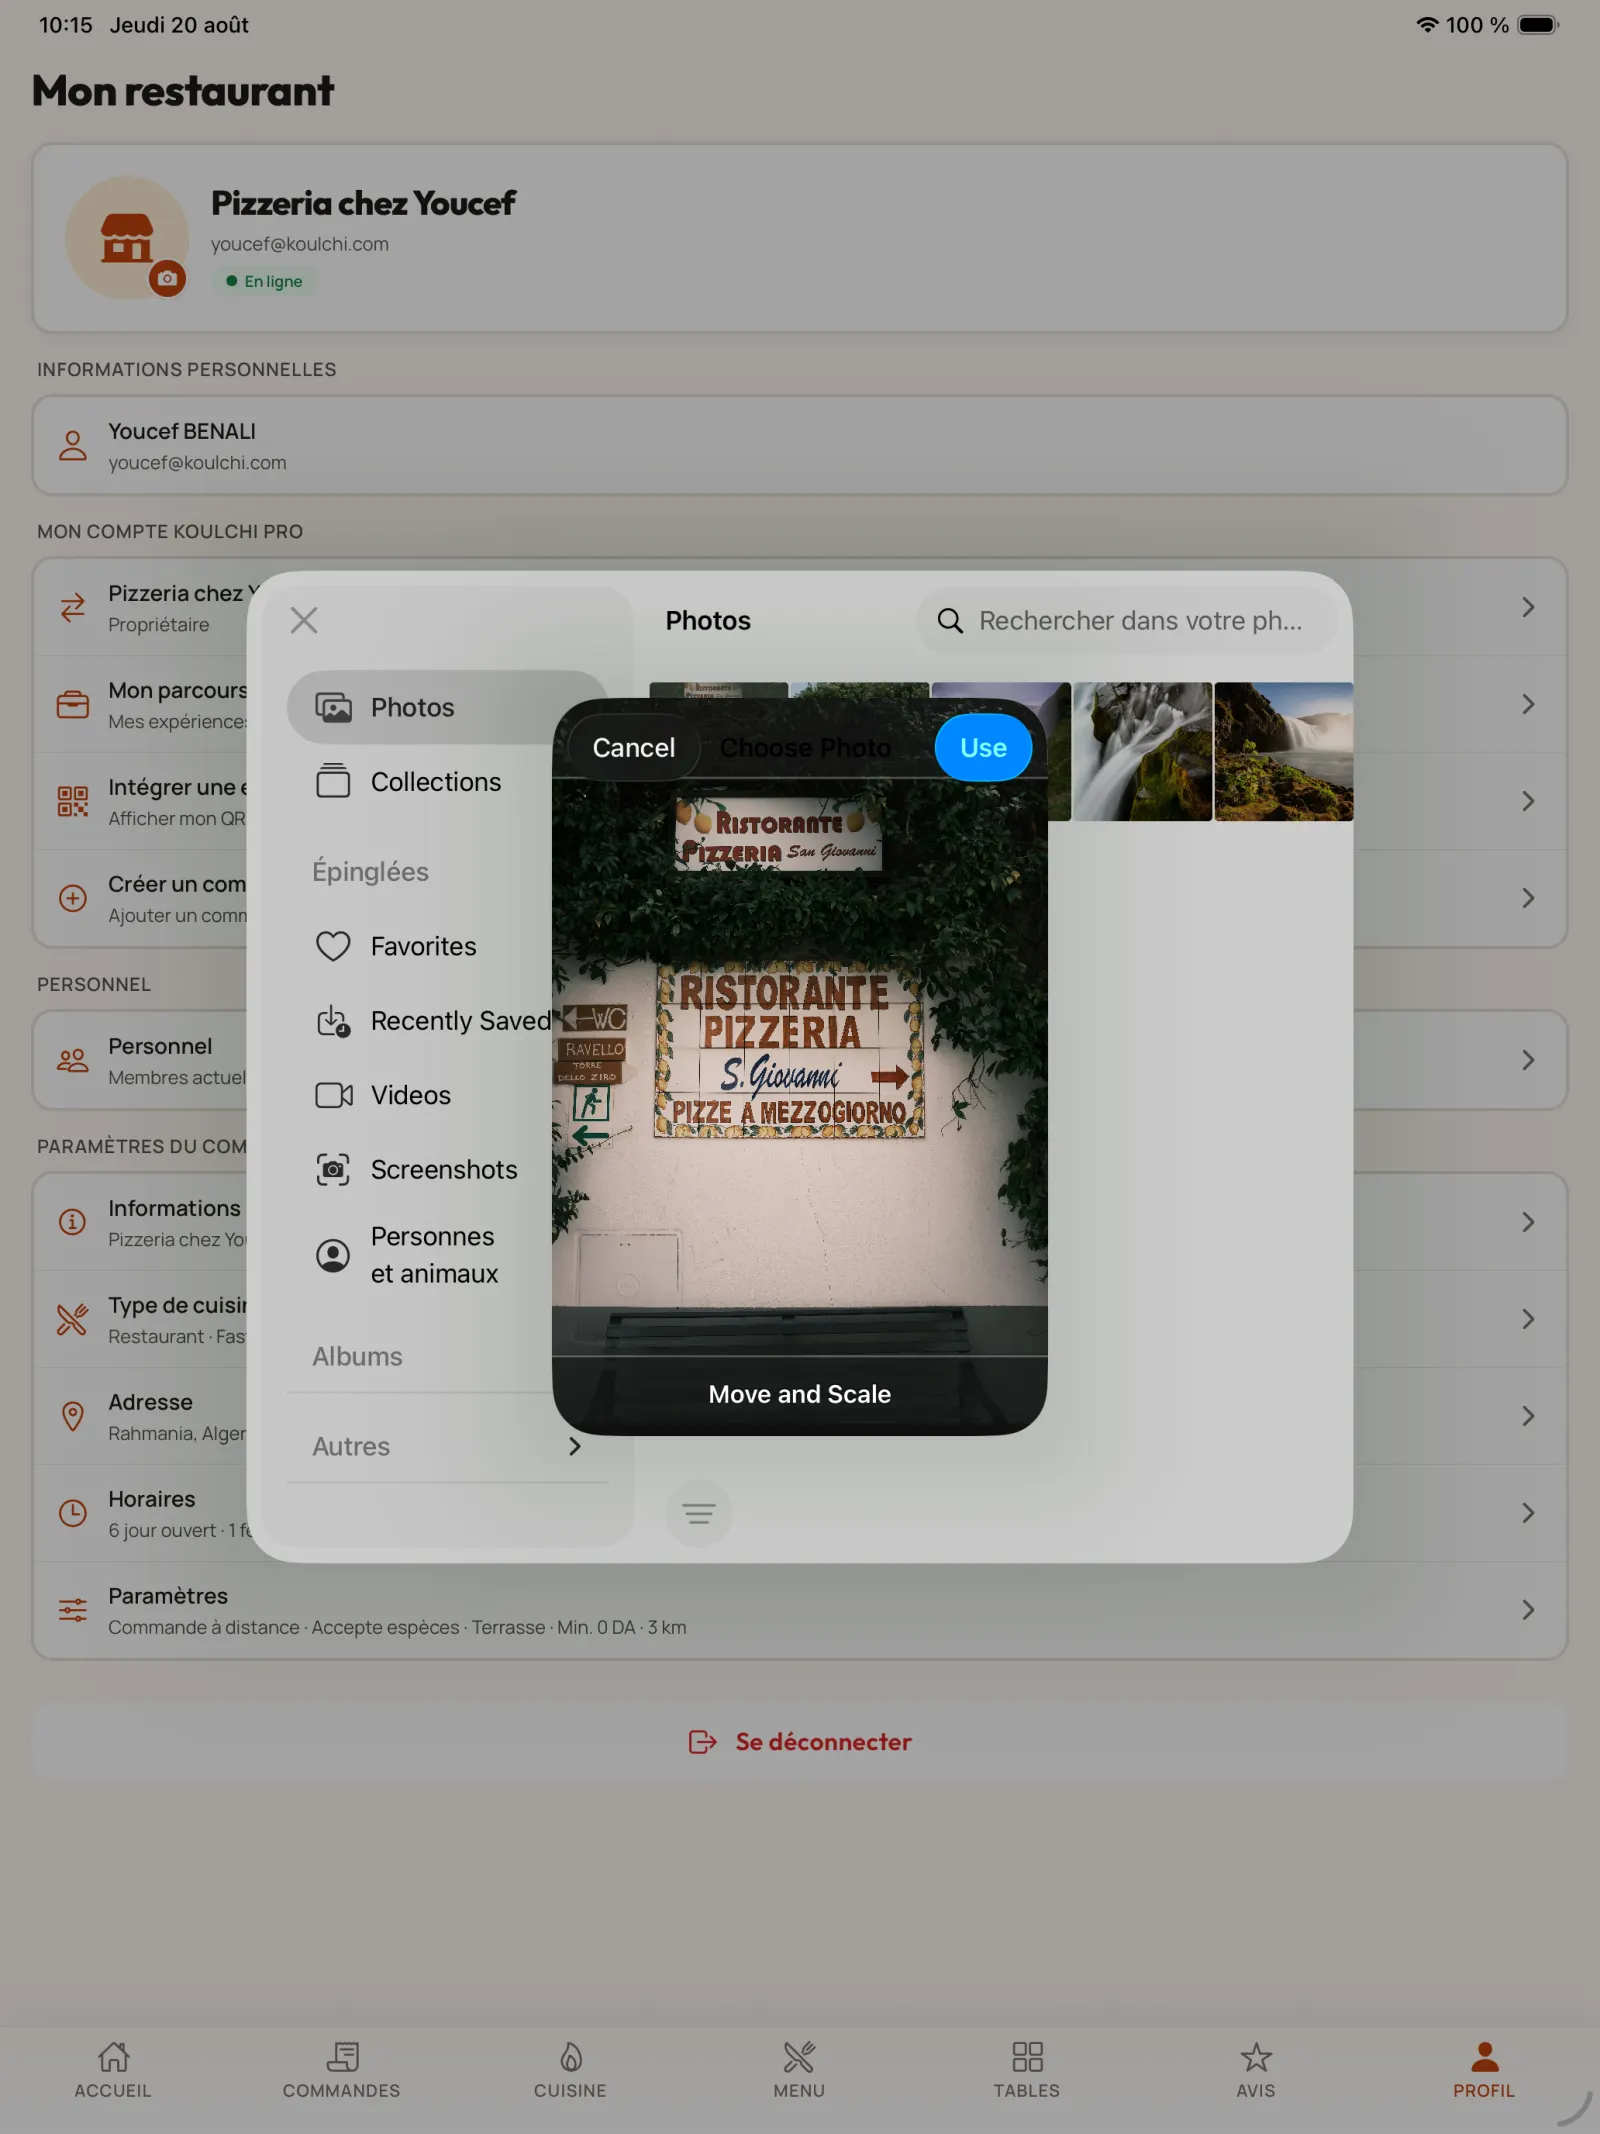
Step 11
Crop and save
Adjust the zoom and framing, then save the restaurant profile image.
Open full-size image
Chapter 4
Add team members
Each member uses their own KoulChi Pro account. The same person can belong to several teams and access the restaurants to which they are attached.
Step 12
Open staff management
Access the “Staff” section from the profile. An owner can also join another establishment's team with their own account.
Open full-size image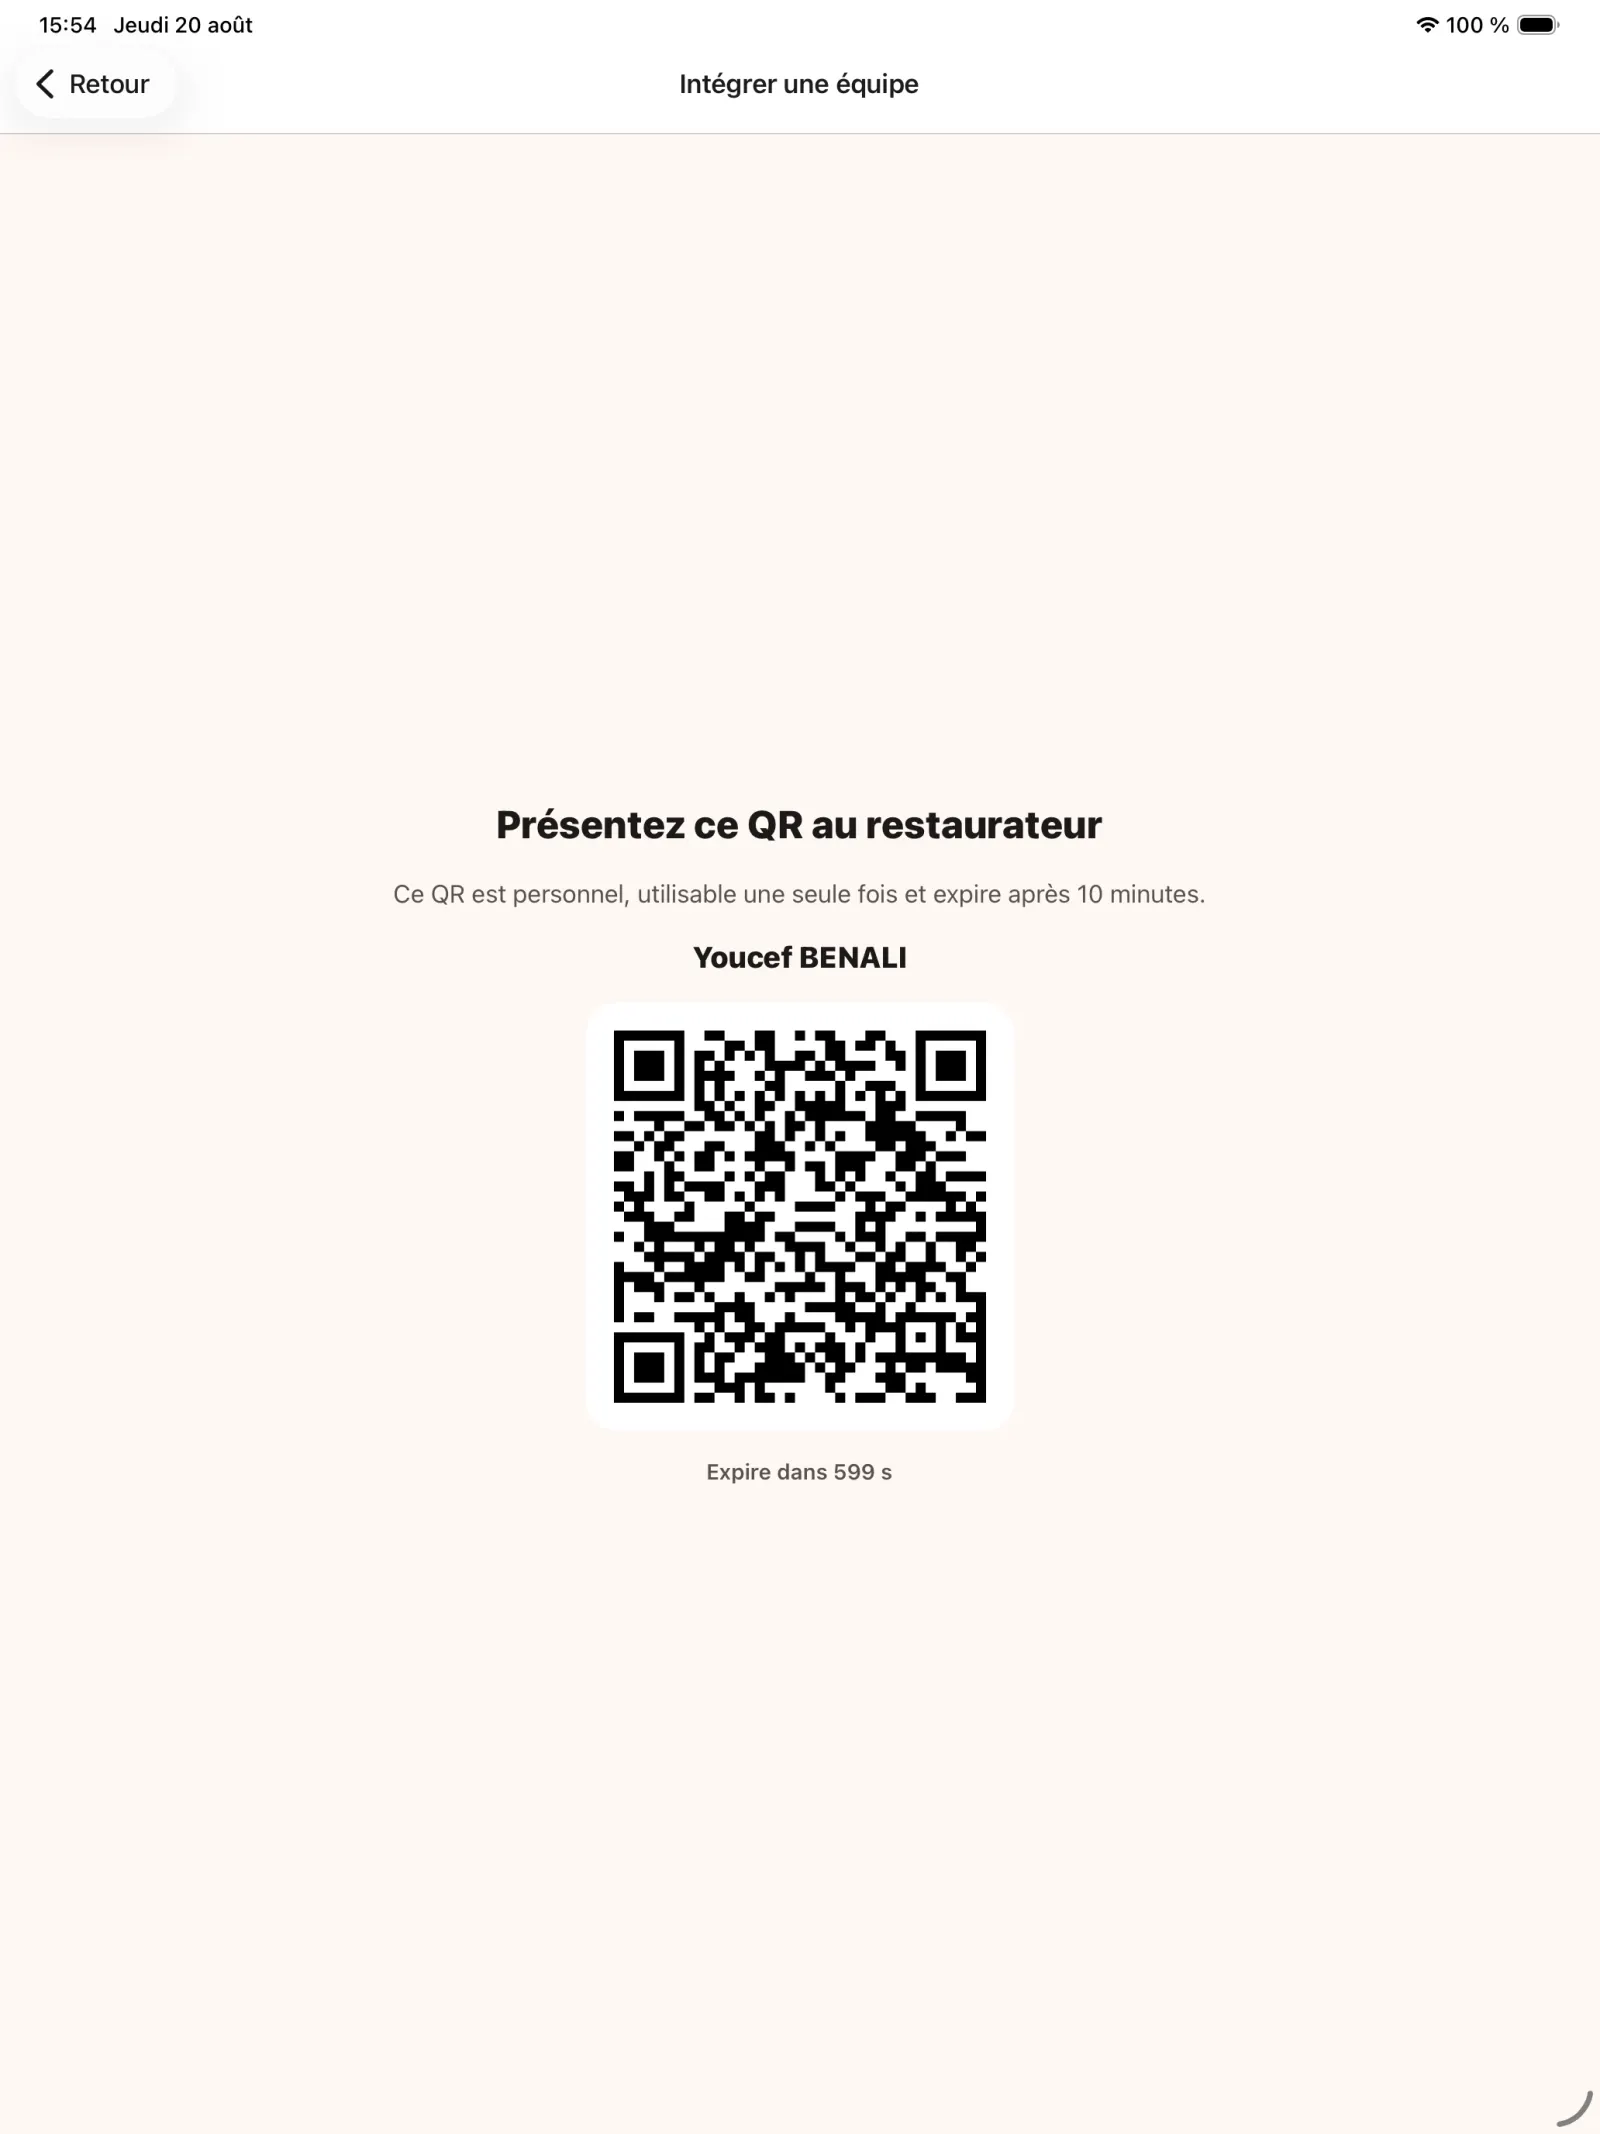
Step 13
Show member's QR code
The “Join a team” function generates a personal QR code to present to the restaurant administrator.
In practice. Membership in a team is not exclusive. A person who works in several businesses can join several teams with the same account and move from one to another.
Open full-size image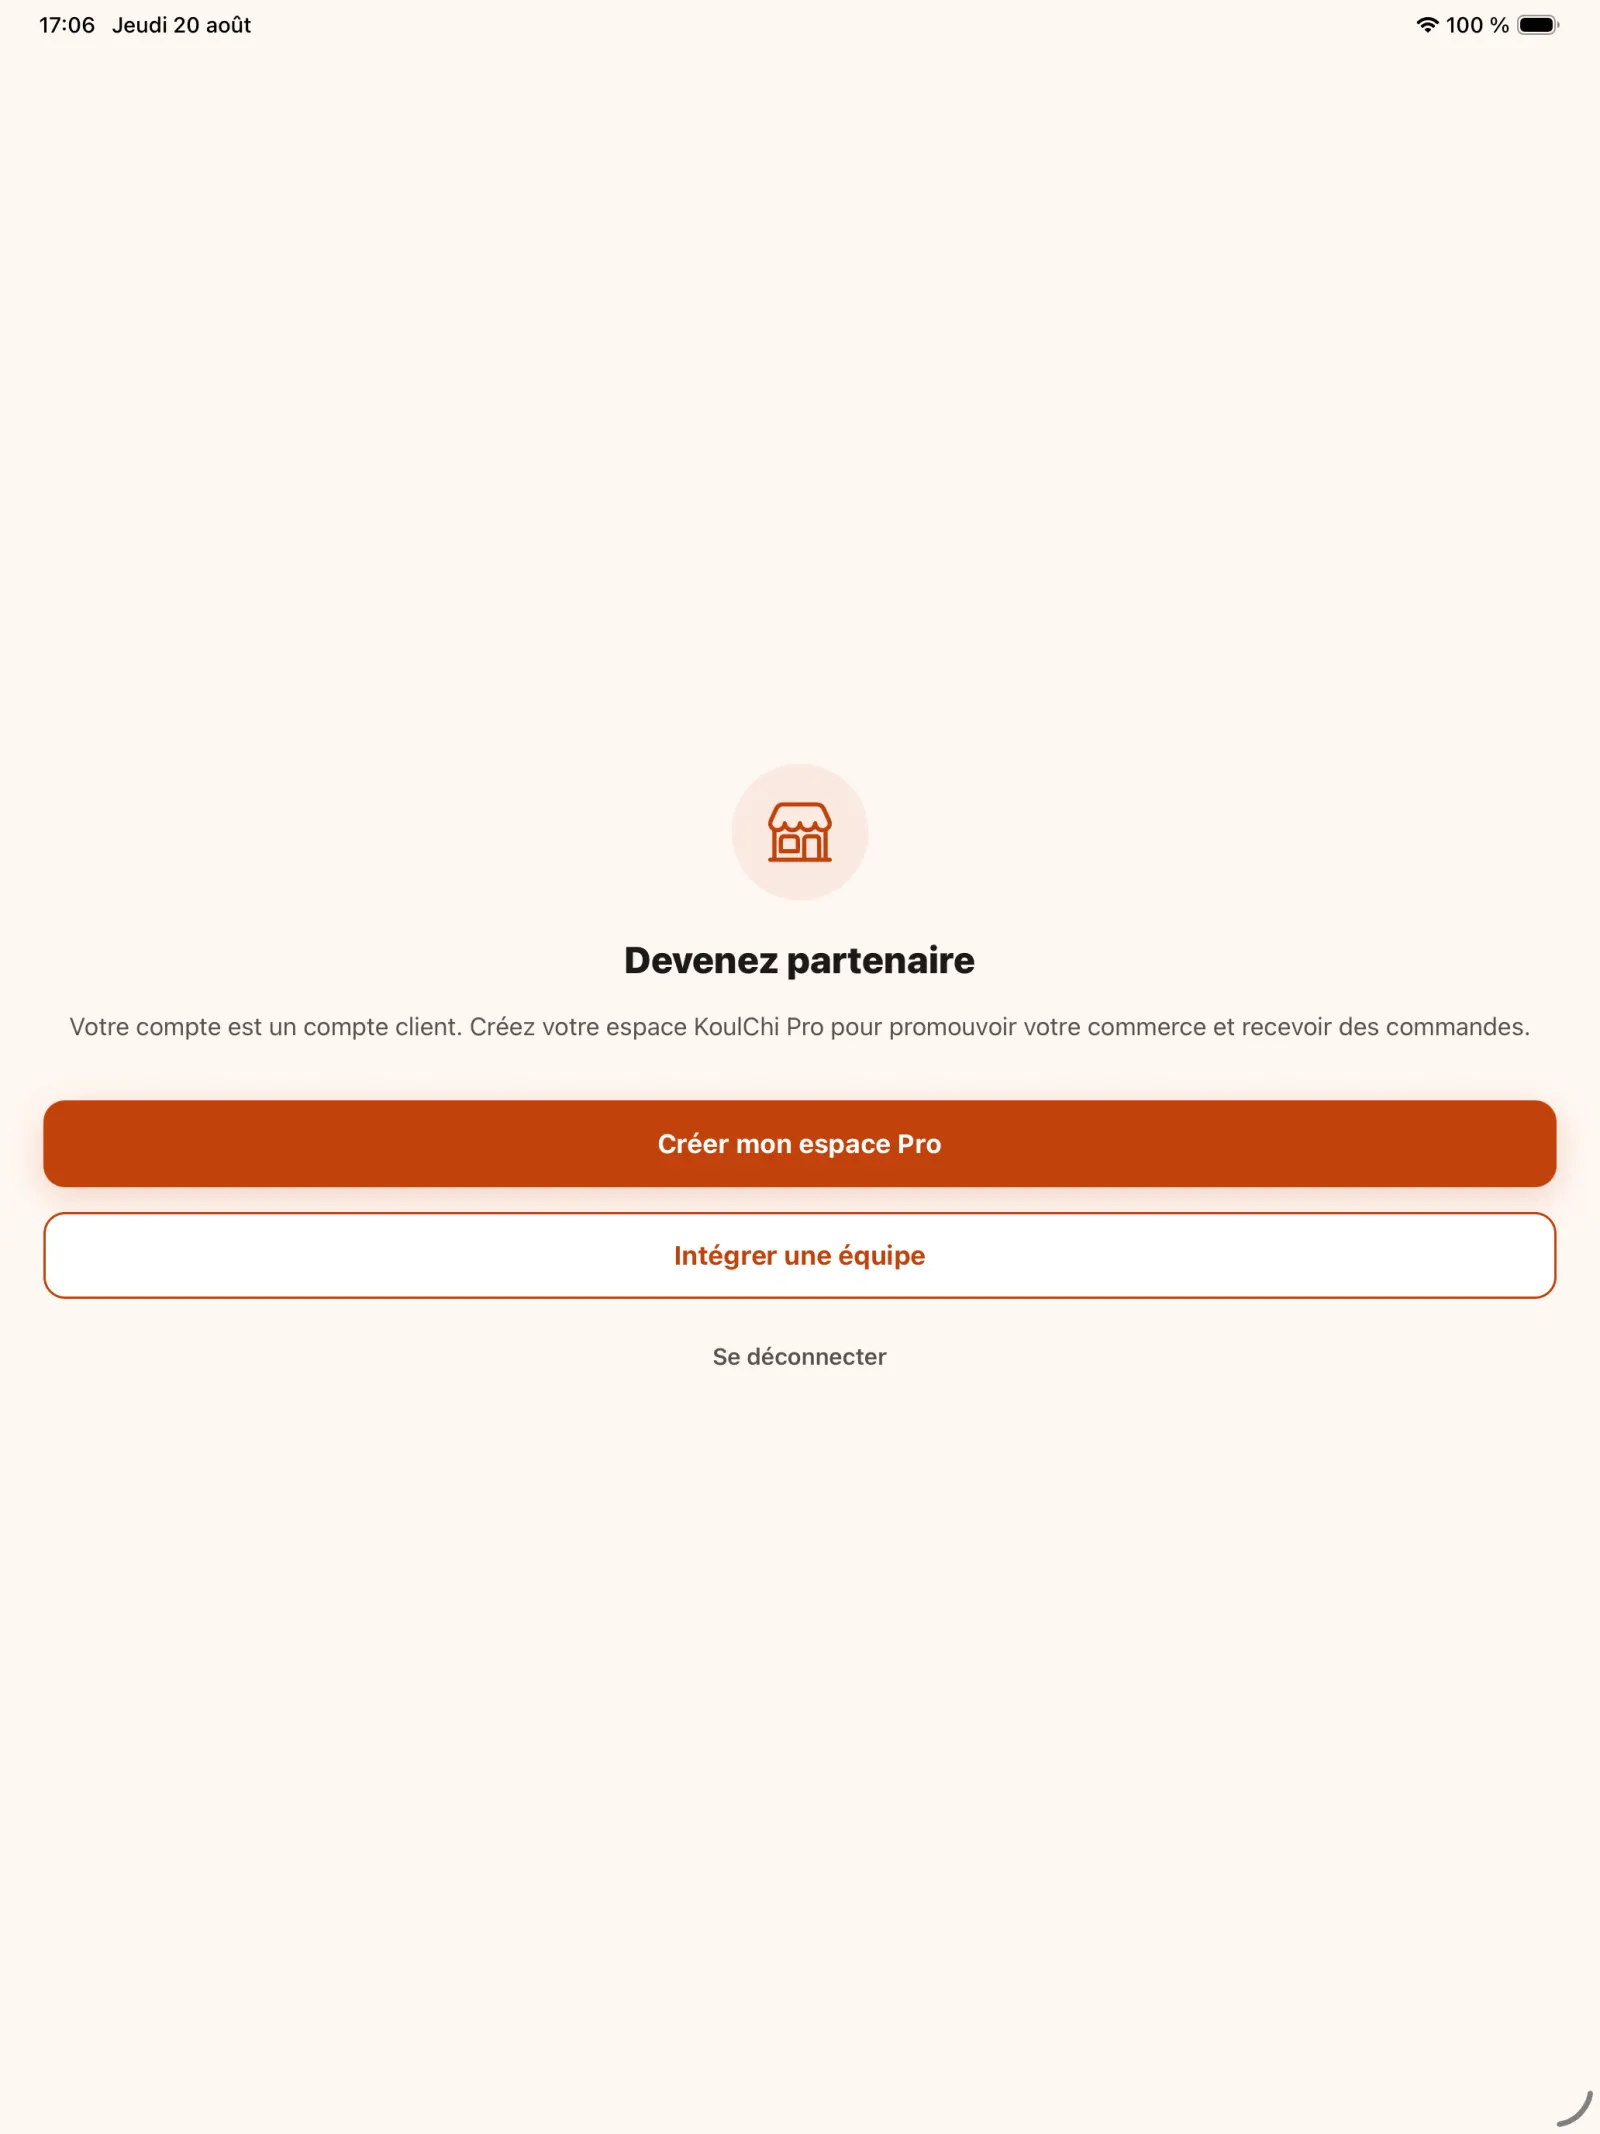
Step 14
Choose to join a team
After signing in, the future member selects “Join a team” instead of creating a new Pro workspace.
Open full-size image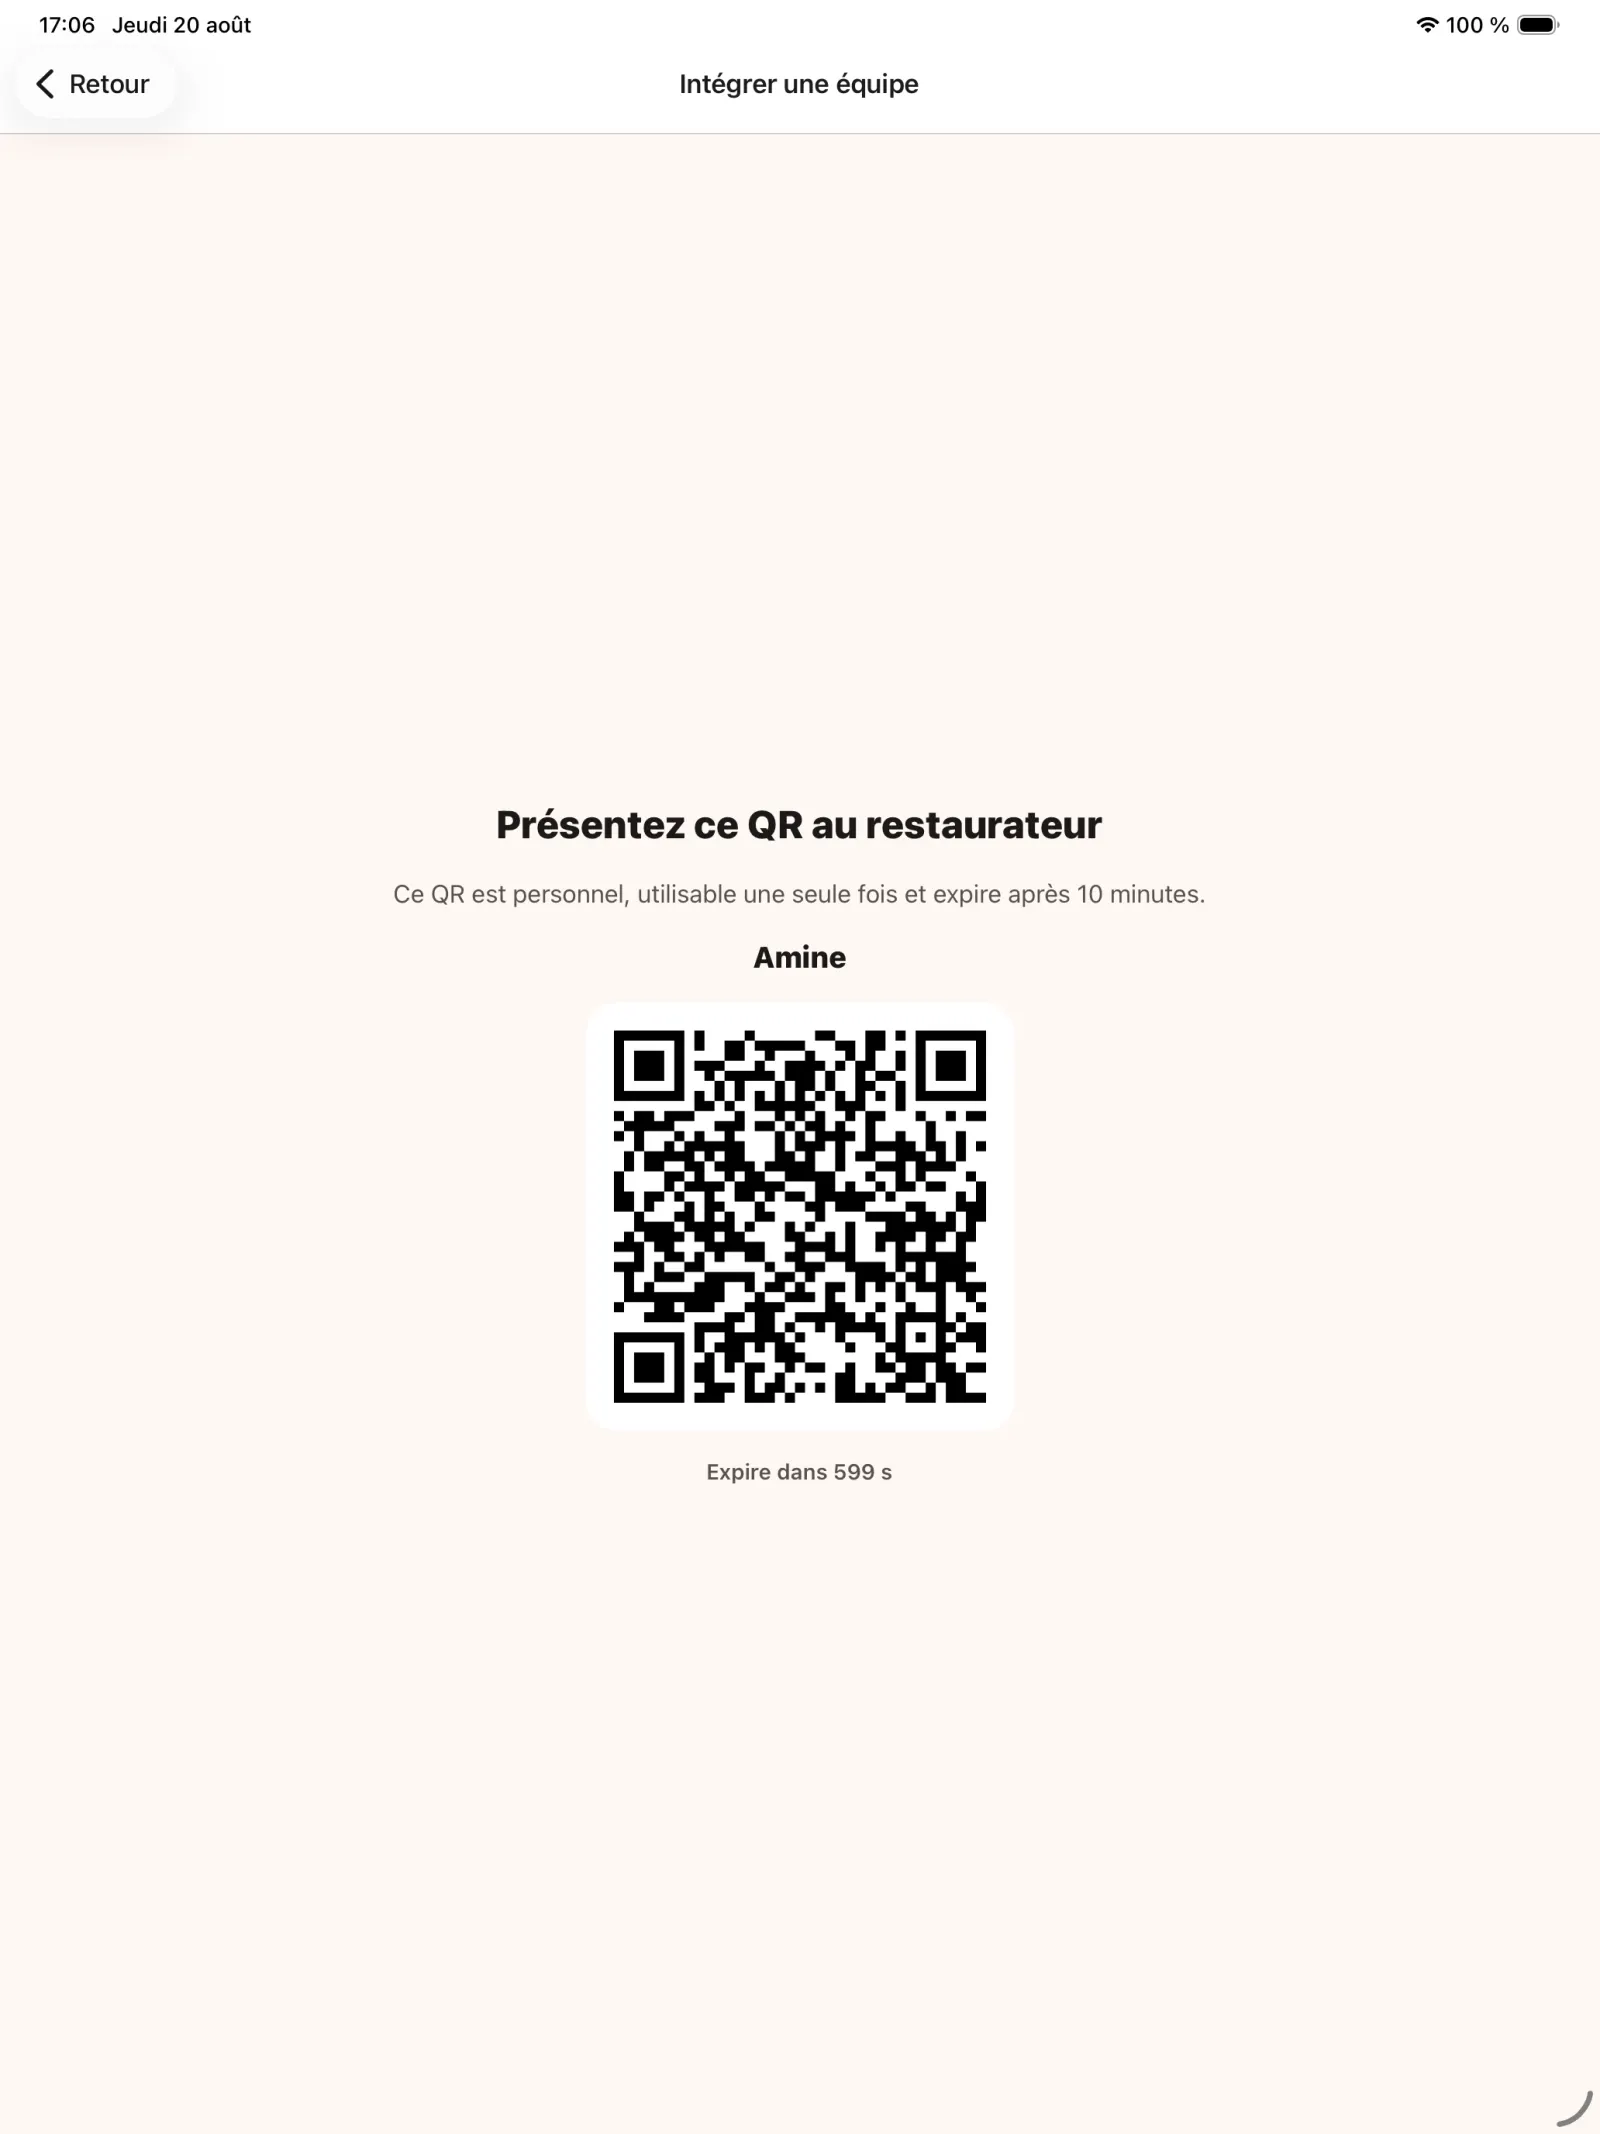
Step 15
Present the invitation QR code
The member displays their QR code so that the manager can scan it from KoulChi Pro.
Open full-size image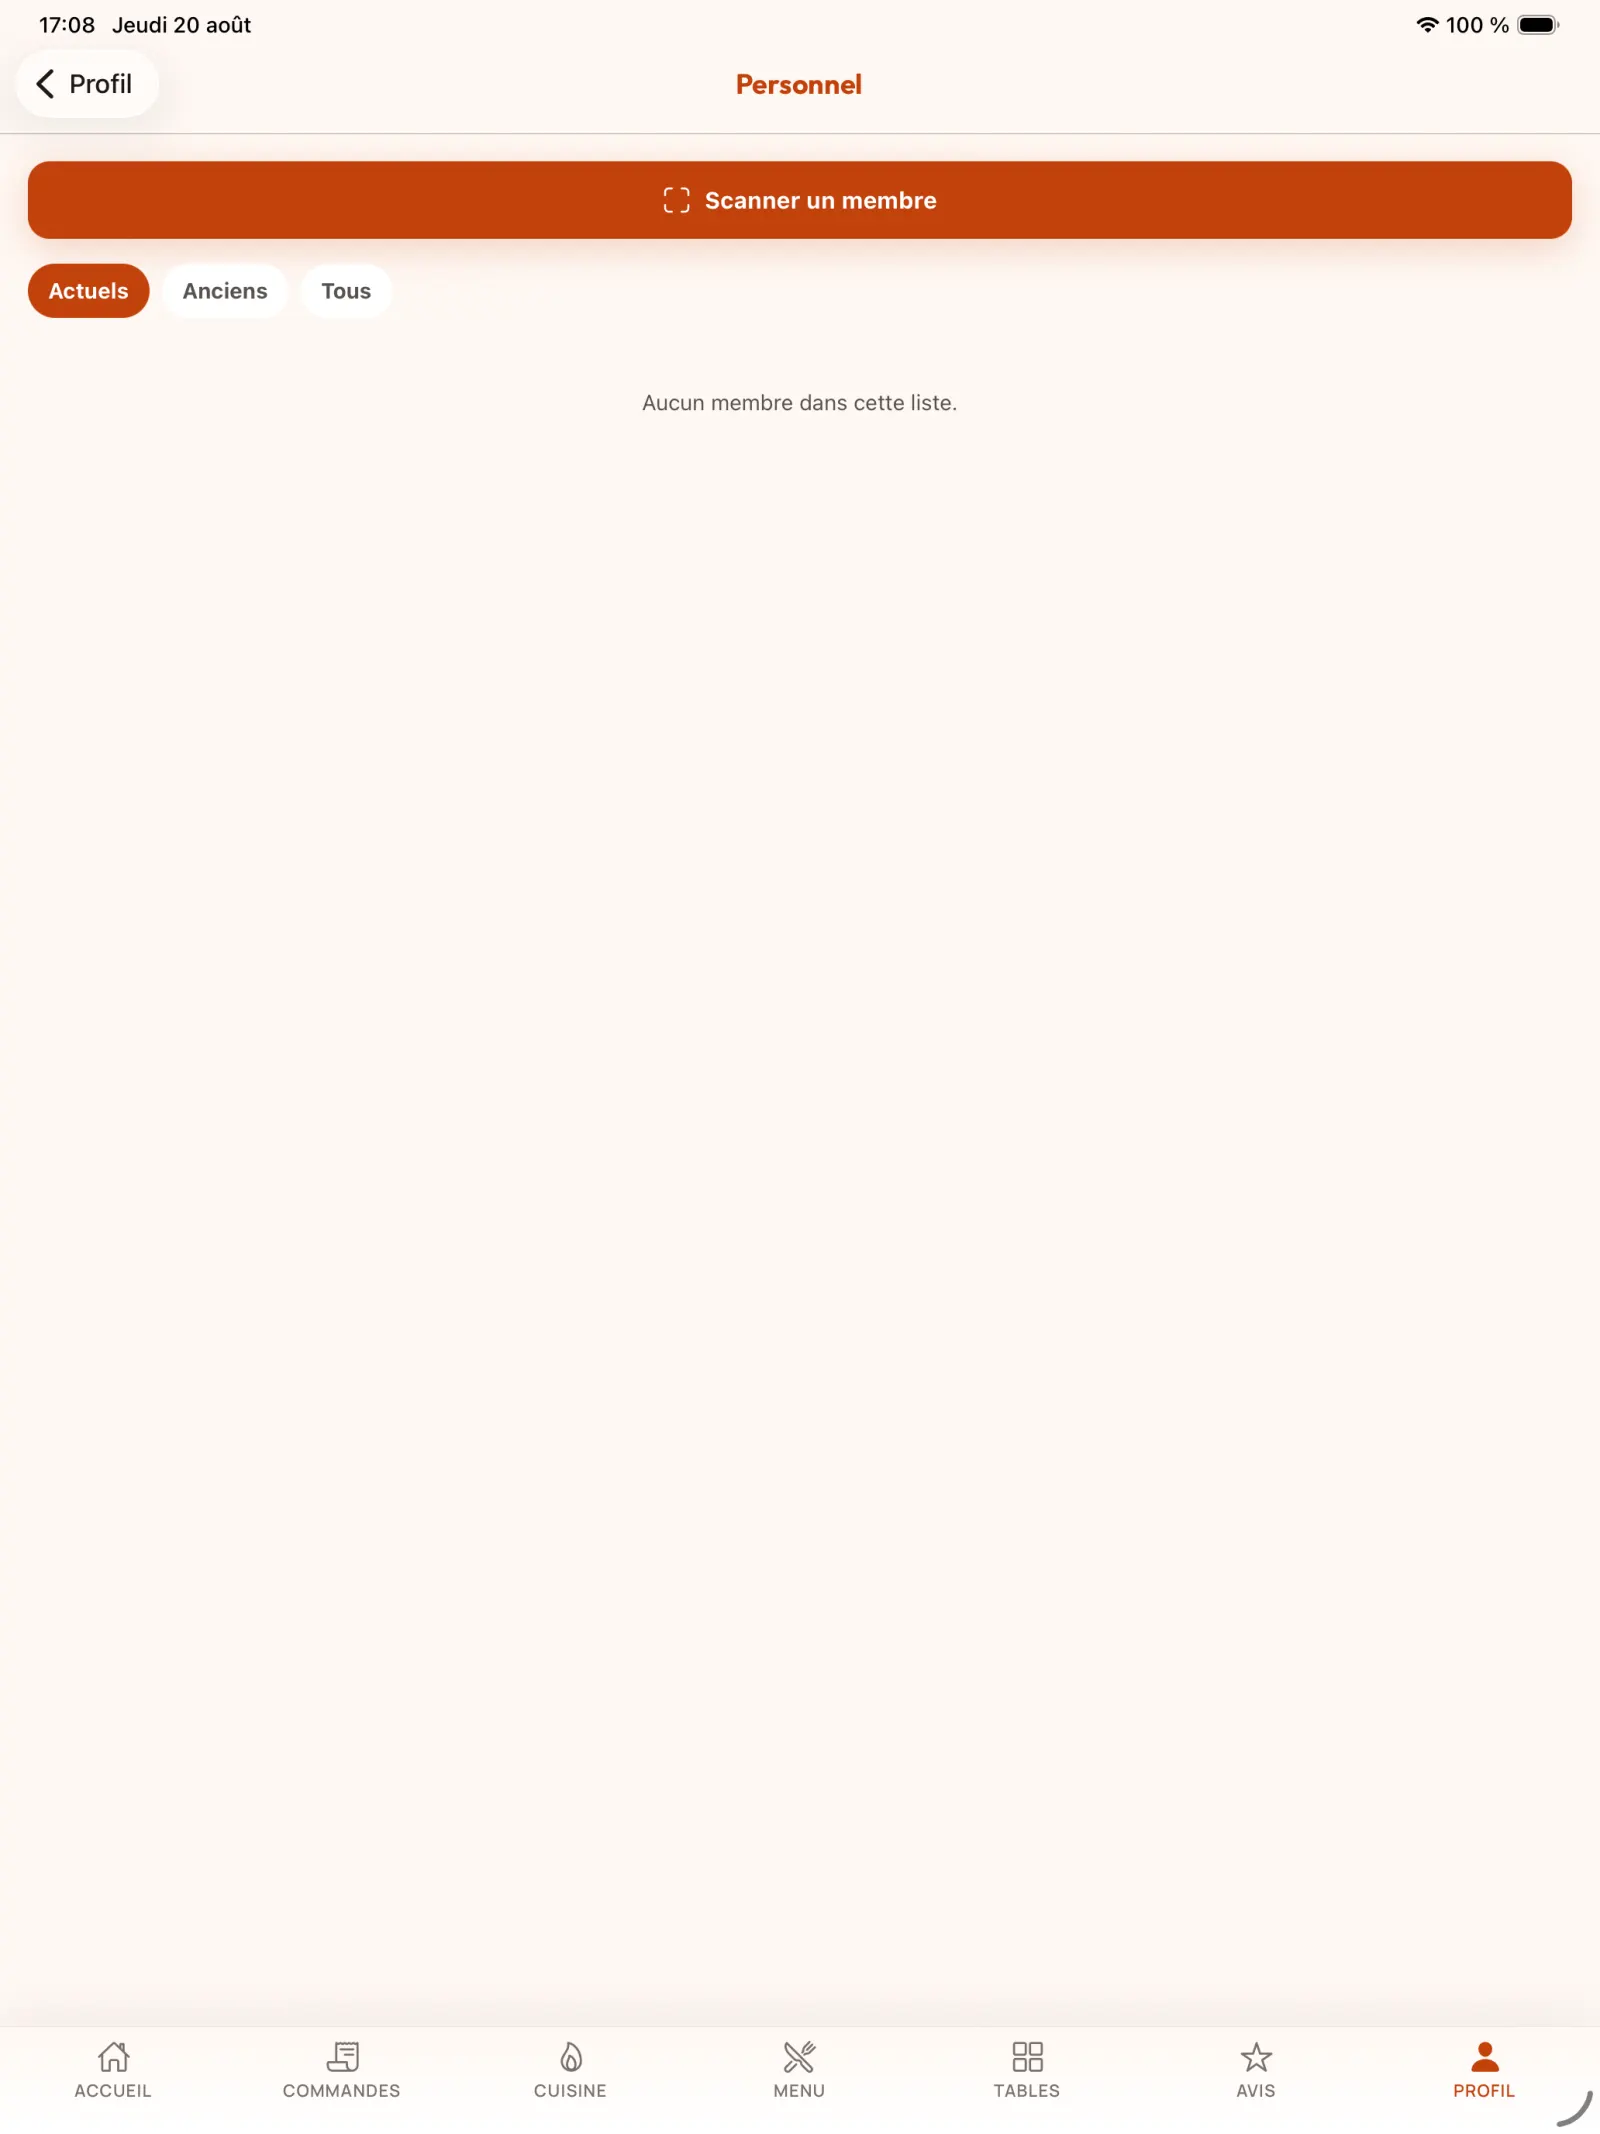
Step 16
Scan and set the access period
In “Profile”, then “Staff”, select “Scan a member”. Once they have been added, if necessary define the start and end dates of their access to the restaurant.
In practice. At the end of the defined period, the member no longer retains access to restaurant functions. This rule makes it possible to simply regulate a temporary contract or seasonal reinforcement.
Open full-size image